
The 19th-century seaside resort Lysekil sits at the mouth of Gullmarsfjorden, a 15-mile-long (25 km) fjord that in 1983 was designated as Sweden’s first marine conservation area. The aquarium at Lysekil features sea life from Gullmarsfjorden that bears a remarkable resemblance to those we’ve seen when diving in the Pacific Northwest, with the Wolf Eels pictured above an excellent example.
After Karingon we travelled 16nm north and spent three nights anchored at the island of Gaso in the Gullmarsfjorden Nature Reserve, within sight of Lysekil. While there we enjoyed the beautiful surroundings and caught up on some boat projects, including replacing our 25KW radar. For a fourth night, we brought Dirona over to the guest harbour at Lysekil to visit the aquarium and tour the town, taking in several good viewpoints.
Below are trip highlights from September 9th through 12th in and around Lysekil, Sweden. Click any image for a larger view, or click the position to view the location on a map. And a live map of our current route and most recent log entries always is available at mvdirona.com/maps.
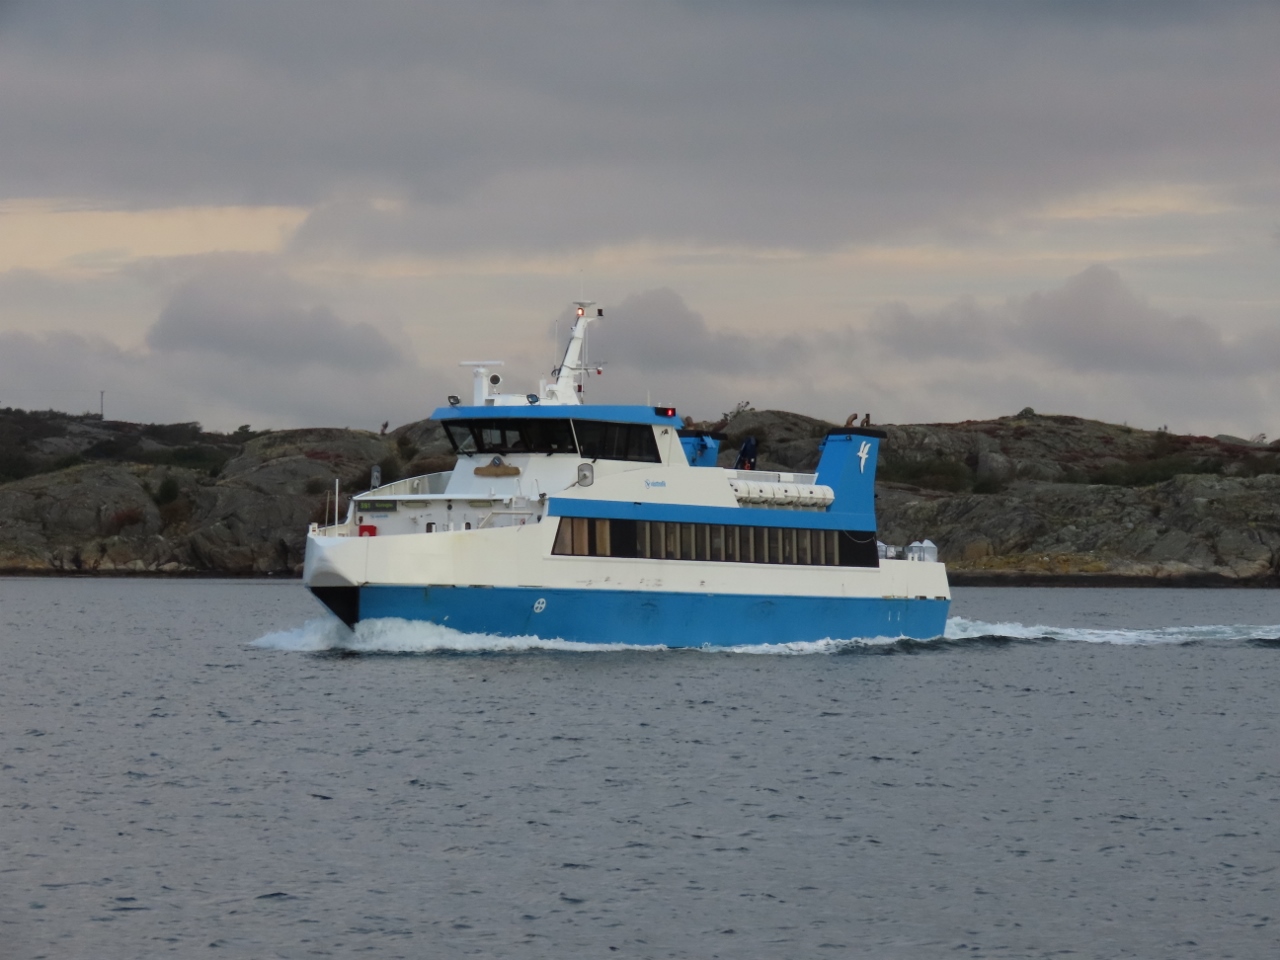 |
Stromstierna
Position: 58°8.59’N, 11°23.84’E
The ferry Stromstierna en route to Karingon from Tuvesvik. We saw the vessel arrive and depart many times during out stay on Karingon.
|
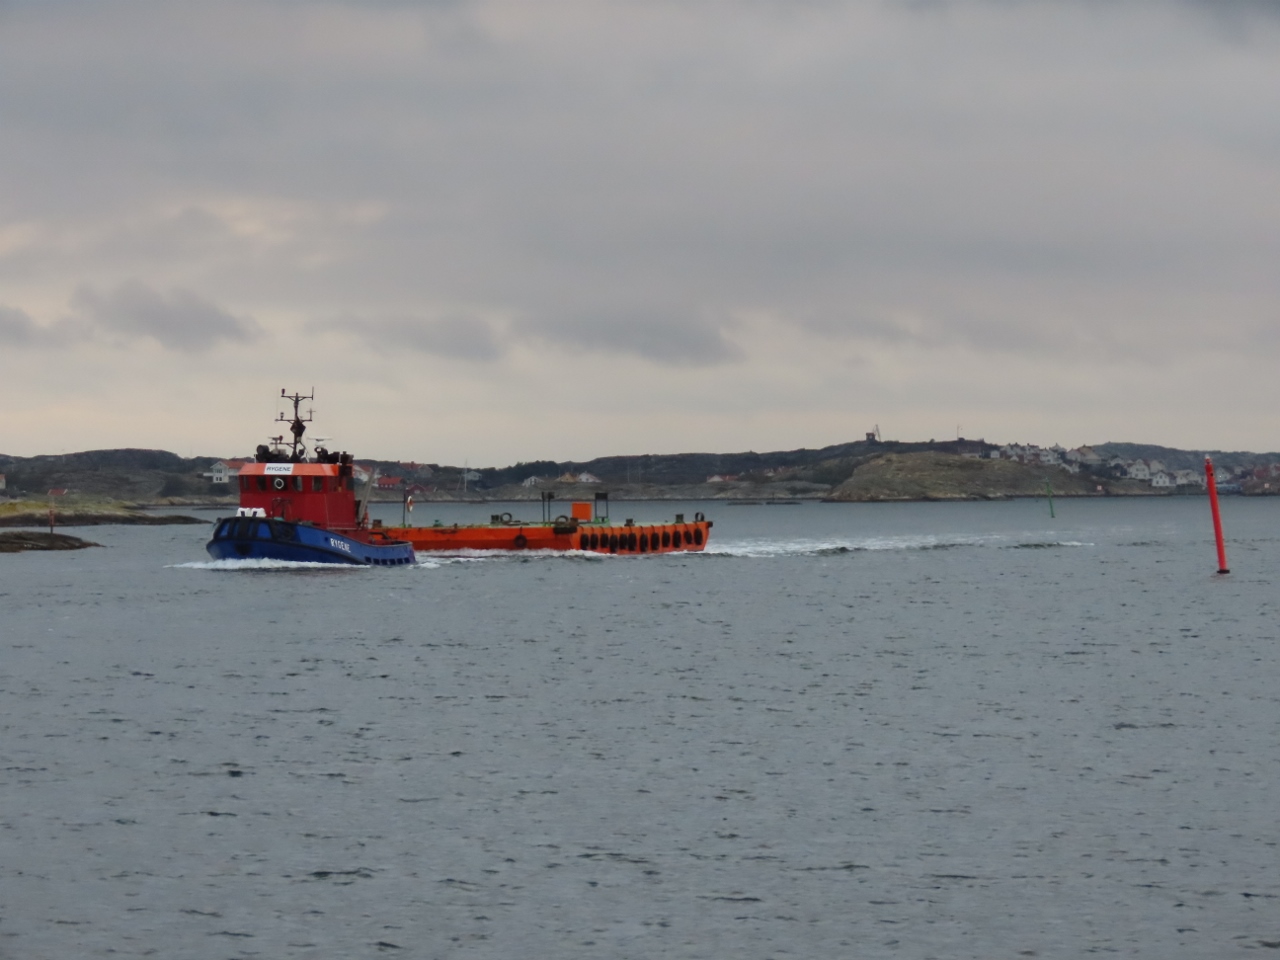 |
Tug
Position: 58°8.95’N, 11°23.81’E
Waiting for a tug and to to pass through a narrow section before we proceed.
|
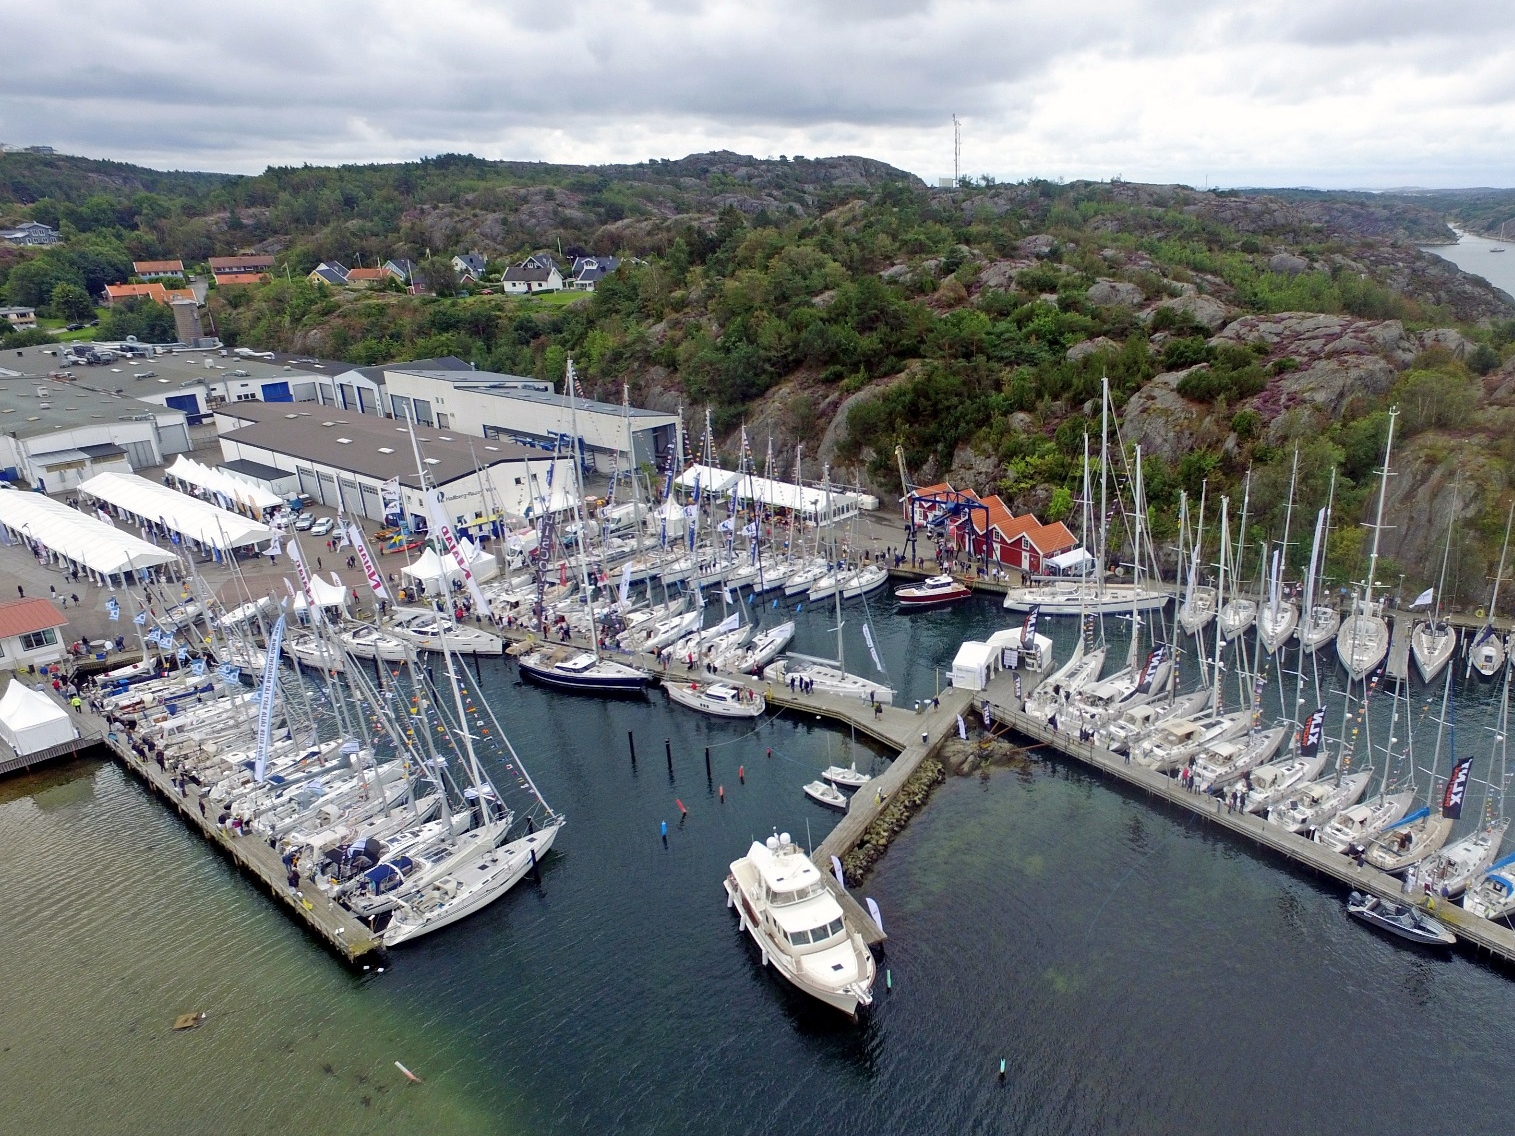 |
Hallberg-Rassy
Position: 58°11.10’N, 11°27.17’E
Hallberg-Rassy sailboats are built at their headquarters in Ellos, Sweden. The company recently held their 27th annual open-yard event, pictured, hailed as the largest sailboat show in Scandinavia. We’ve seen many Hallberg-Rassy boats during our travels around the world and they always look capable and well-constructed.
|
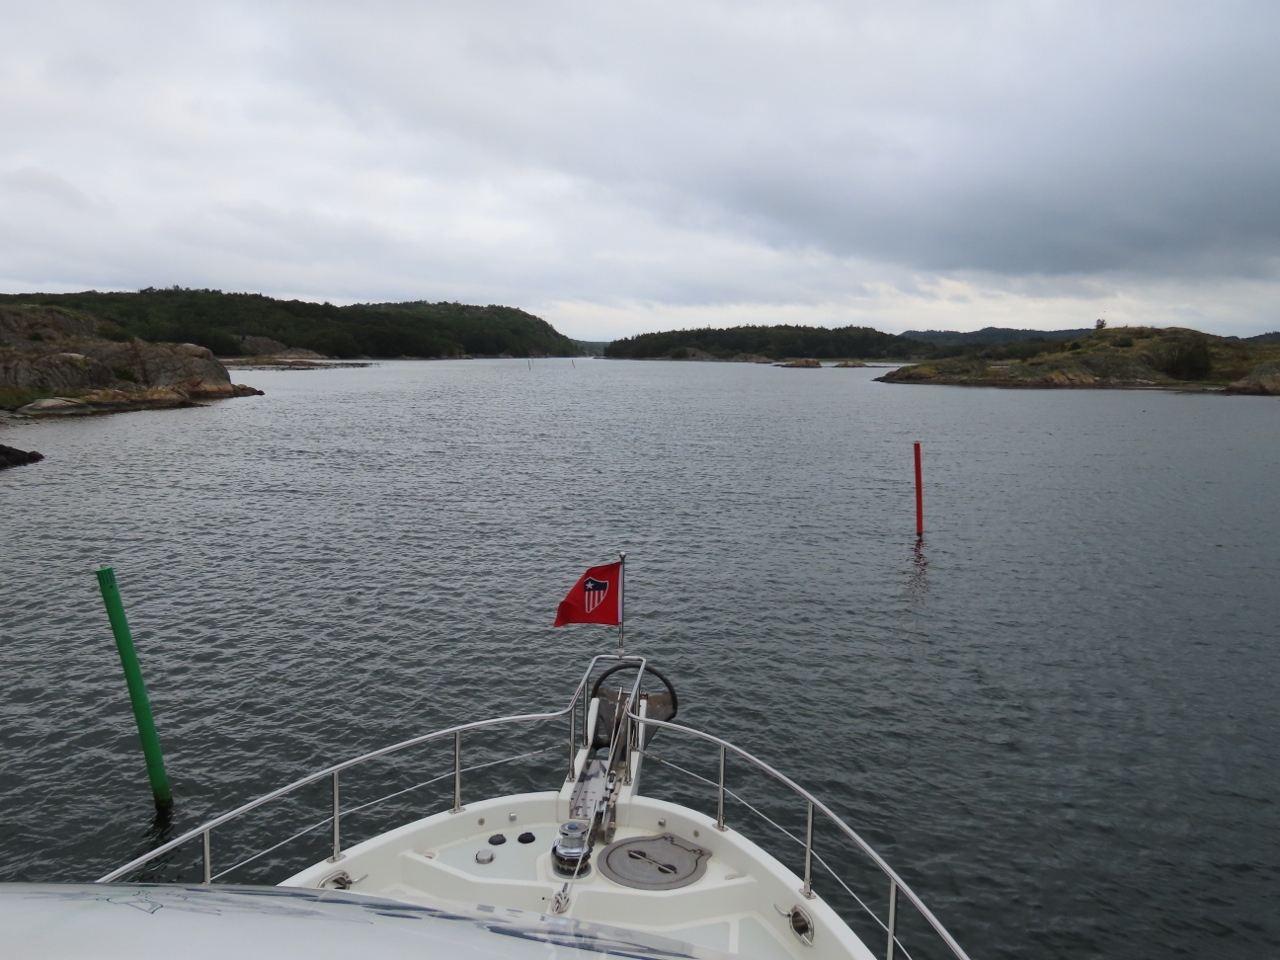 |
Lavo Sund
Position: 58°13.89’N, 11°28.96’E
Navigating between the pilings in Lavo Sund. The waterway is beautiful, but narrow and shallow, requiring attention at the helm.
|
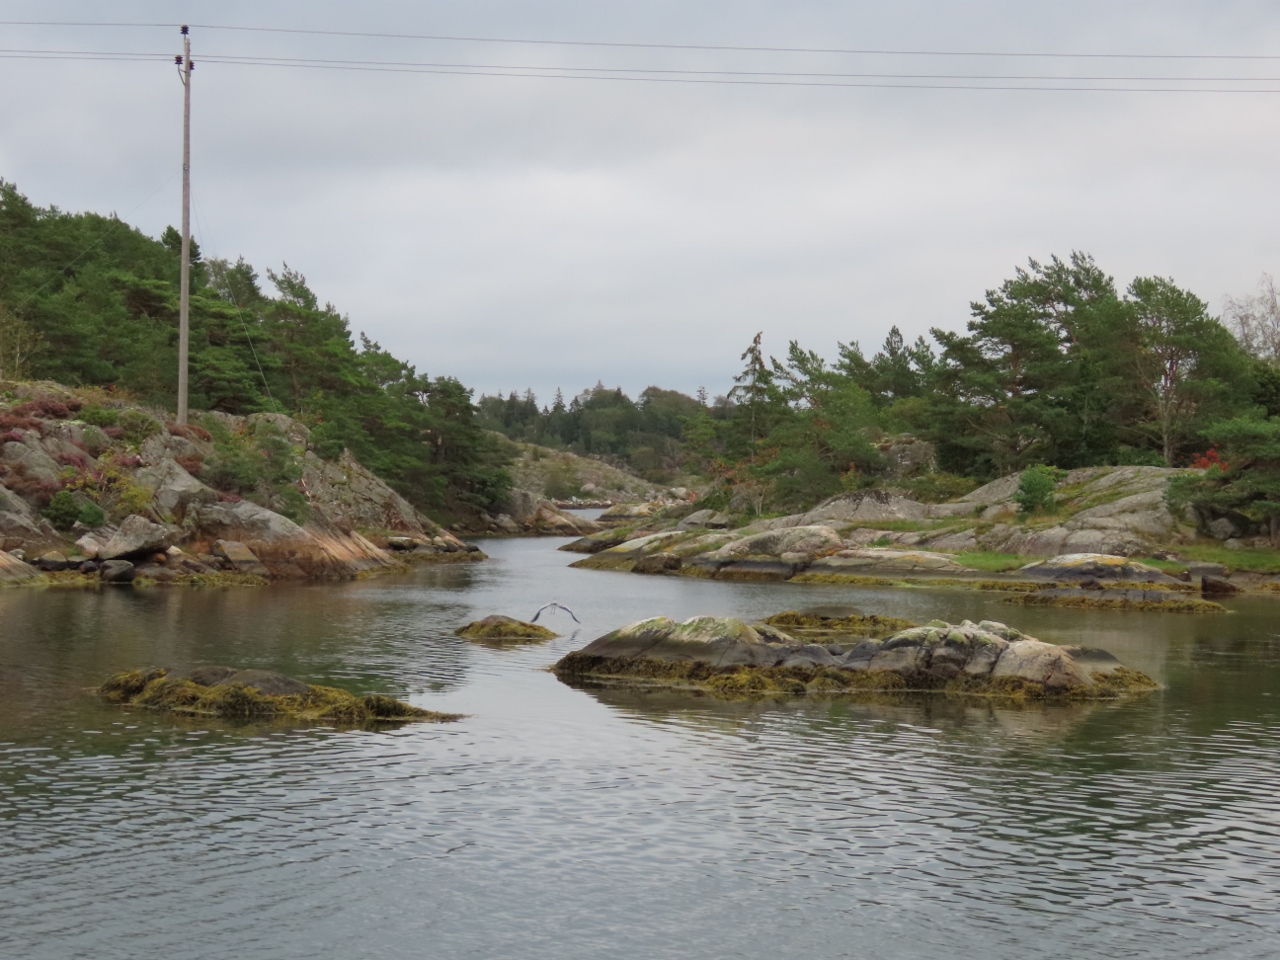 |
Hallsholmen
Position: 58°14.73’N, 11°29.65’E
Heron taking off, looking down a narrow channel south of the island of Hallsholmen along Lavo Sund.
|
 |
Skafto Bridge
Position: 58°15.33’N, 11°30.11’E
The Fantasi Marina visible behind us as we pass under the bridge to Skafto.
|
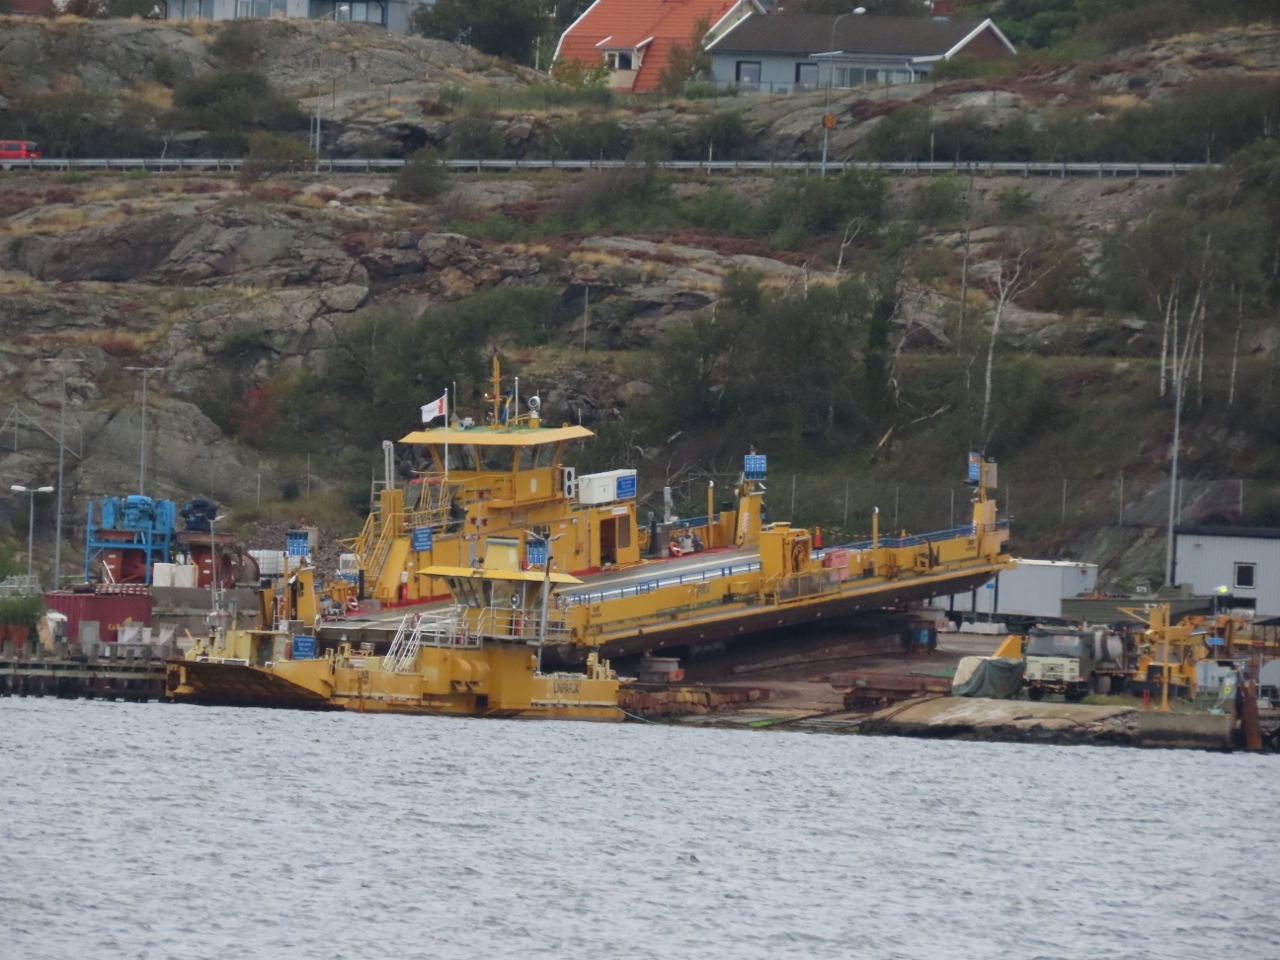 |
Ferry Service
Position: 58°16.27’N, 11°28.31’E
The distinctive colors of the local ferry service are easy to see from a long way away. Here a medium sized ferry is pulled up the ways at Lysekil for out-of-water service and several others are moored nearby.
|
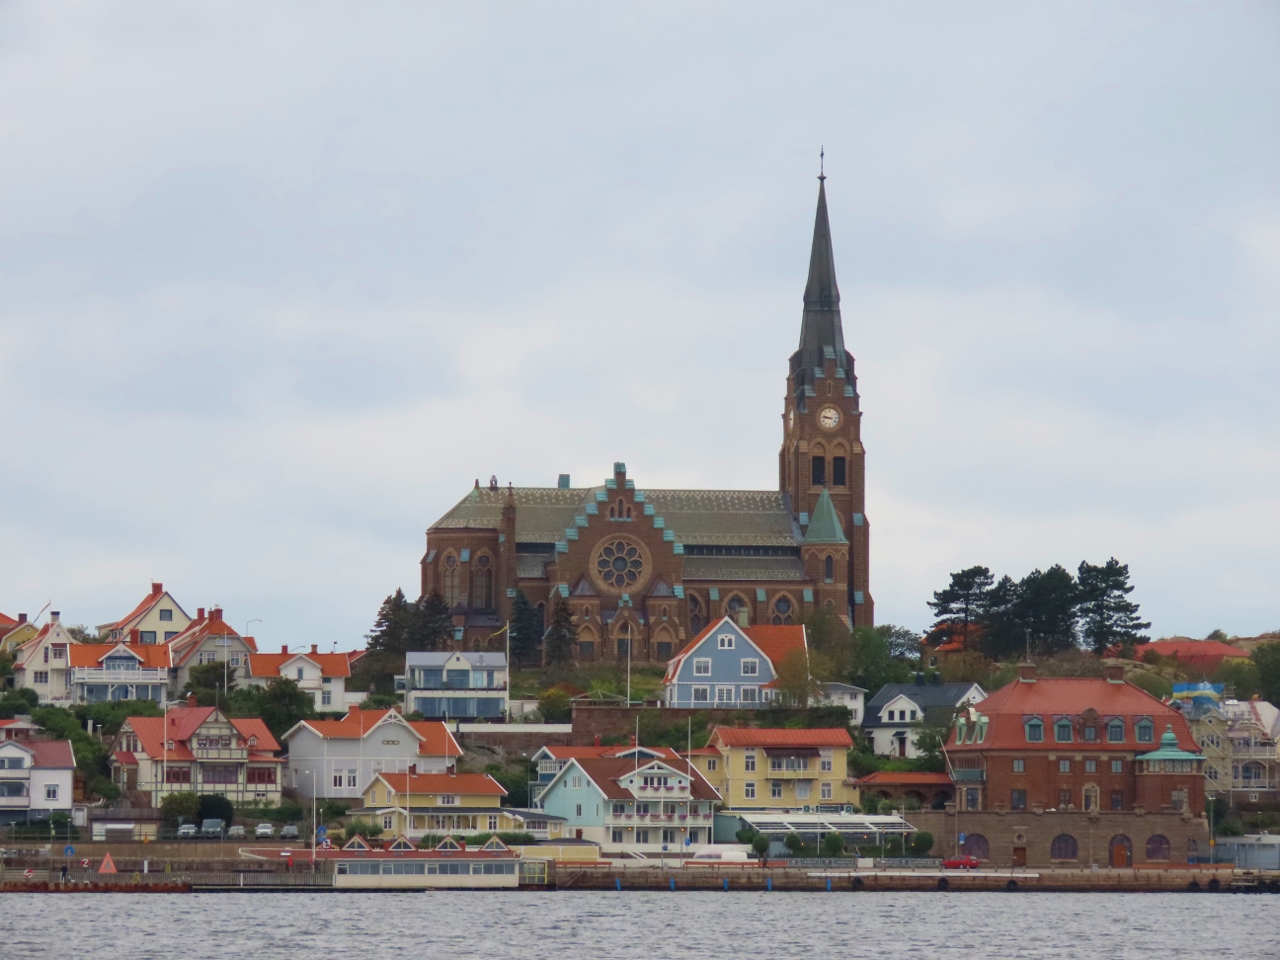 |
Lysekil
Position: 58°16.21’N, 11°27.53’E
The iconic Lysekils Kryka (church) standing on the hilltop above the city of Lysekil. With a population of about 7,600, it’s the largest center in the area.
|
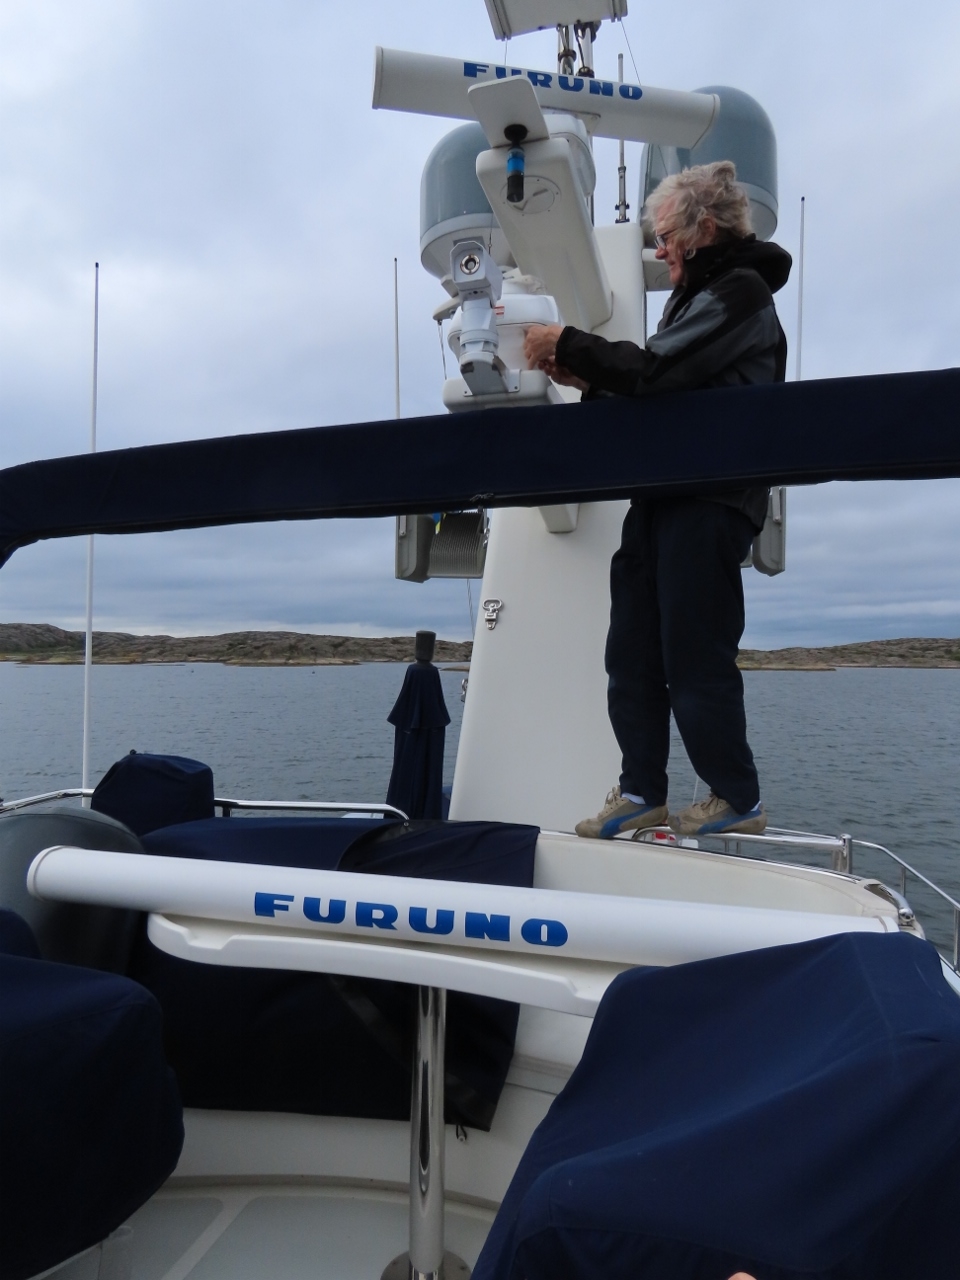 |
Furuno DRS25
Position: 58°14.65’N, 11°23.66’E
A few months back our 25KW main RADAR started to occasionally produce auto-tuning errors. This got more and more frequent over a few weeks. We consulted with Furuno and they said that magnetron lifetime is usually in the range of 8,000 transmitting hours. Some go a bit longer and some a bit less, but that generally the lifetime and auto-tuning errors are the symptom when they start failing.
The recommended parts to bring the RADAR back to full spec would cost about half the price of a new RADAR, so we elected to just go with a new one. We ordered it through Emerald Harbor Marine who have been helping us for 25 years now and took back the 58lb package as part of our luggage when we flew back into Stockholm from some time at work in Seattle. We’ve been running our backup RADAR, a 6KW Furuno DRS6, and it’s been working great. The only difference we notice is the 6KW view through the stack to the rear isn’t very good, whereas the 25KW just punches through the fiberglass like it wasn’t there. Perhaps a bit less range, but the 6KW is an excellent backup and we’ve hardly noticed the 25KW gone. Here James has just started the work to install RADAR and has just finished taking the antenna off the old one. |
 |
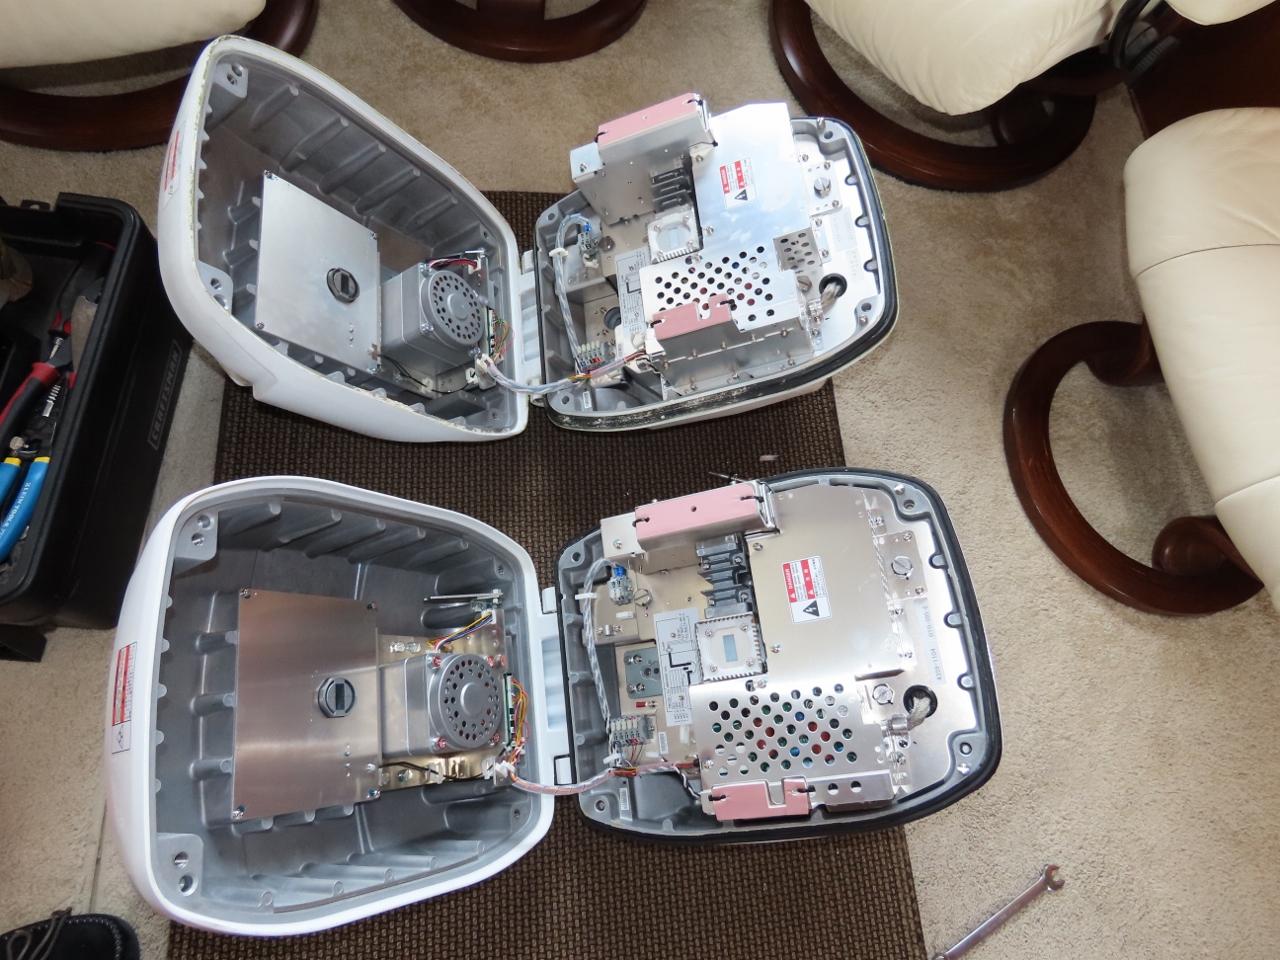
Radar Open
Position: 58°14.65’N, 11°23.65’E
After the antenna is carefully lifted off the RADAR, the next step is to undo the four bolts that hold the upper half of the housing containing the gearbox to the lower half containing the electronics. Once the two housing halves are undone, the housing can be split and opens on a hinge to allow access to the electronics for service or to disconnect the electrical cabling prior to removing the entire unit.
|
 |
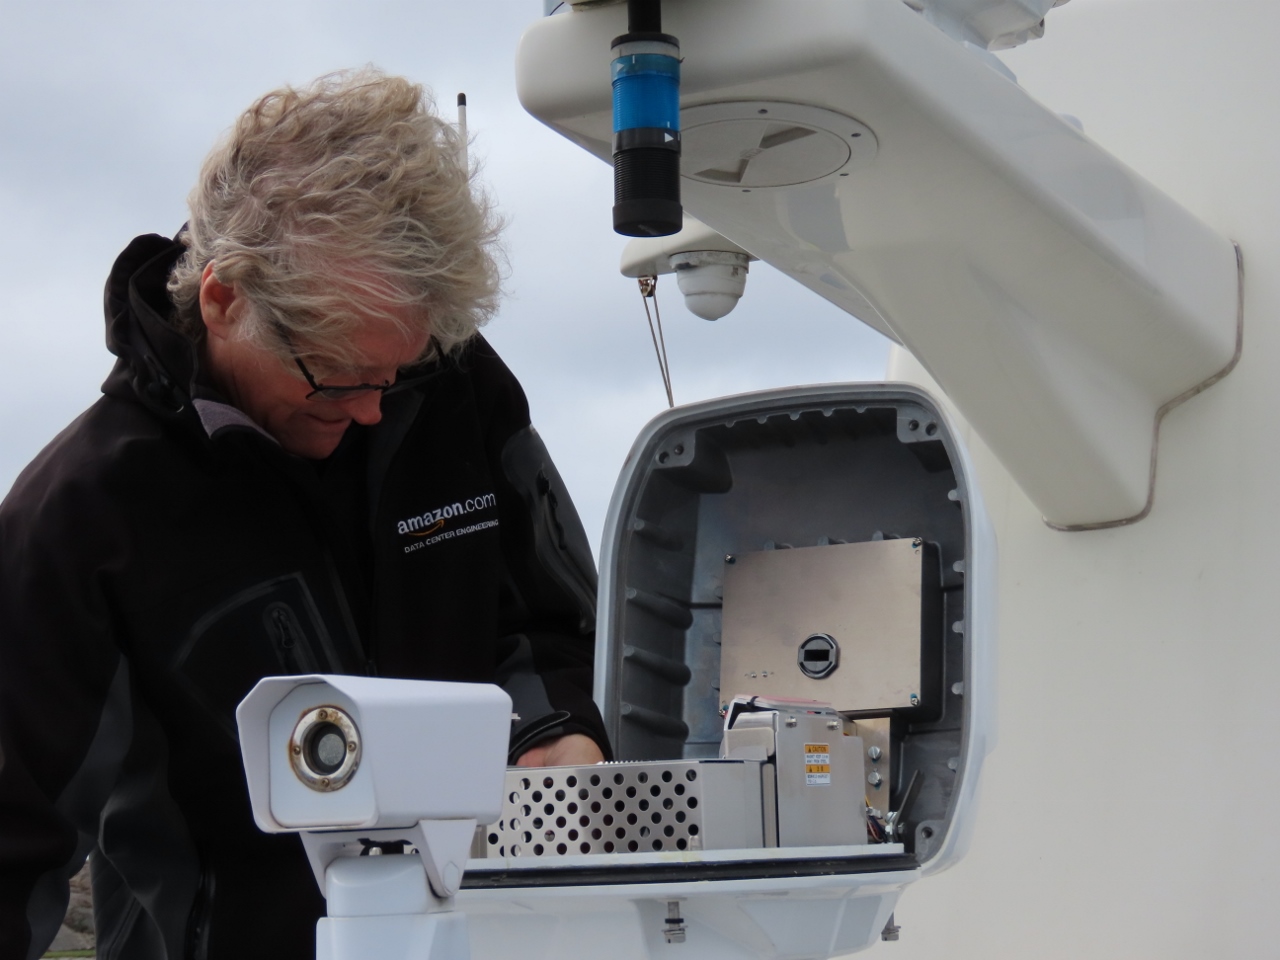
Radar Wiring
Position: 58°14.65’N, 11°23.65’E
Here we are removing the wiring from the RADAR unit prior to unbolting it and removing it from the boat. Looking down from the top you can see two cables coming in. One brings in an Ethernet cable for signalling and the other brings in power and ground. The Ethernet cable modular connection is released and pulled out. Then the power connection is pushed down to release the power and ground wires.
The red and blue wires are held in with a push-to-release connection. Once the wires are free, the four screws at the bottom, holding the plate over the grommet around the wires, are removed. This plate comes up and the grommet can be raised out of the socket and then removed from the wires. At this point the wiring is free and can be gently pushed down through the bottom hole. |
 |
RADAR Replacement
Position: 58°14.65’N, 11°23.65’E
The old Furuno DRS25 has now been disconnected and lifted down. Here the new unit is beside the old one for final preparation before lifting the new unit up onto its mounting location.
|
 |
New RADAR
Position: 58°14.66’N, 11°23.65’E
The new RADAR is now held in place with the mounting bolts, and James is attaching the power and communications lines. Once it’s electrically connected, the wire seal will be screwed down on the bottom to prevent water entering the RADAR at the power and communicators lines. Then the rubber gasket that fits between the upper and lower halves of the RADAR housing will be lubricated with silicon and then the RADAR upper housing will be folded down into it’s proper location on the lower housing. This gets bolted up to form a good-quality, long-lasting, water-tight seal.
|
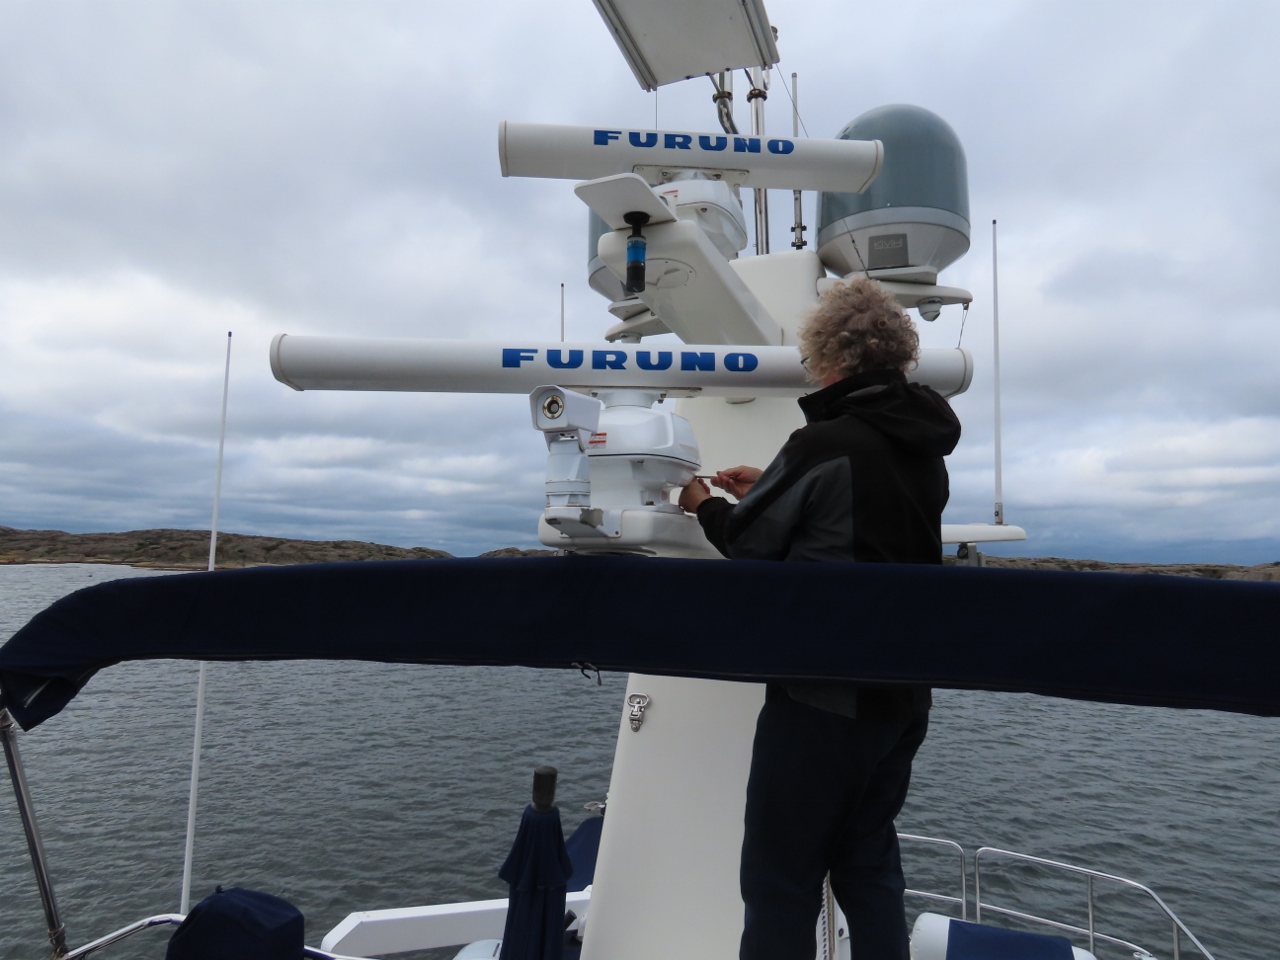 |
Antenna Installed
Position: 58°14.65’N, 11°23.66’E
The 6ft RADAR antenna has now been re-installed on the new RADAR and James is retorquing the all mounting fasteners. At this point, the new RADAR is ready to be started.
|
 |
RADAR Testing
Position: 58°14.65’N, 11°23.66’E
It’s nice to see the new RADAR fire right up and show a nice clear RADAR image with the sharp, well defined image we’re used to. Hopefully it’ll be good for another 10 years and 10,000 hours of operation.
|
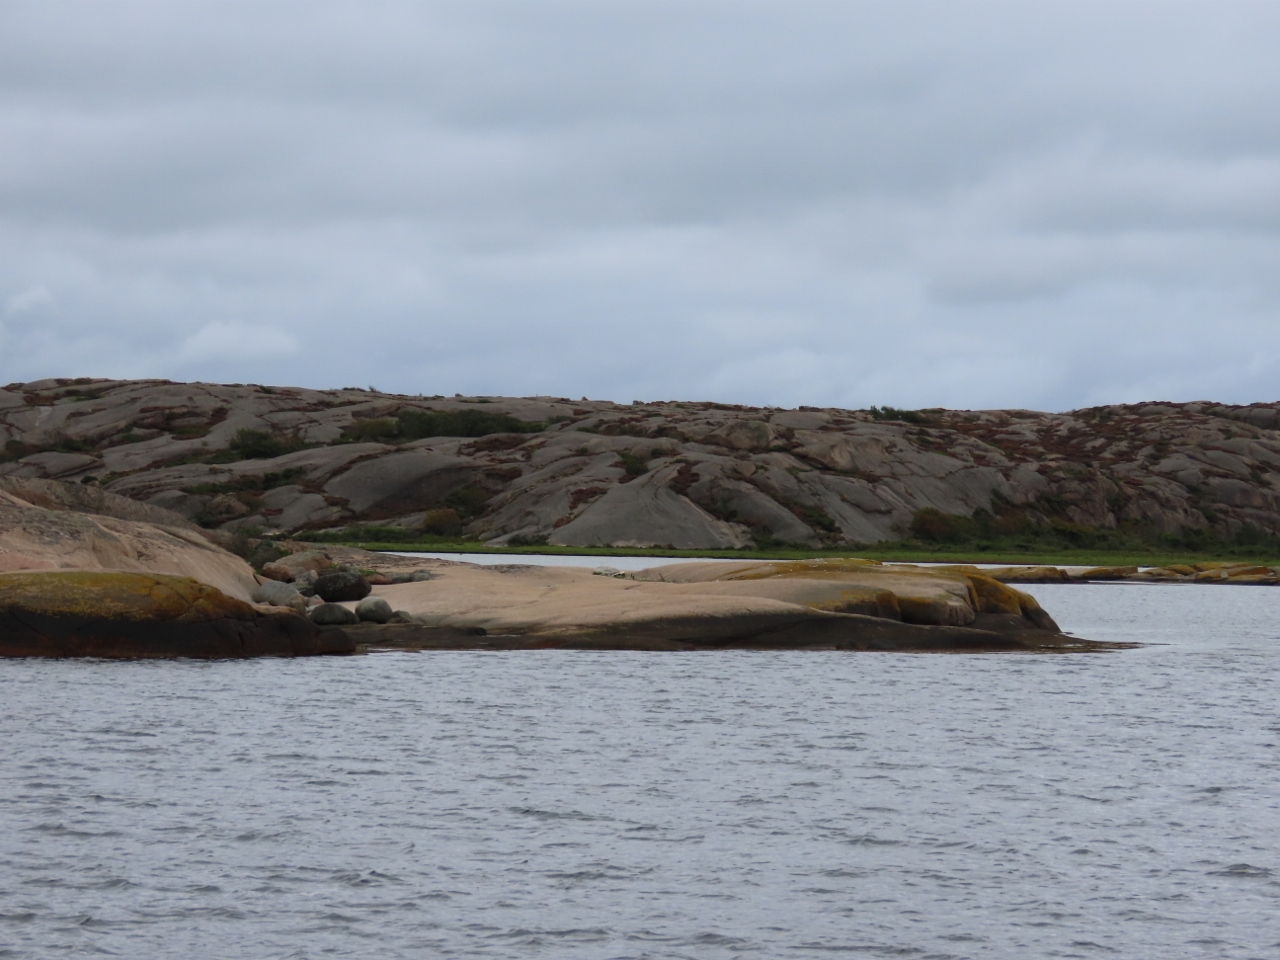 |
Gaso
Position: 58°14.66’N, 11°23.65’E
Looking across to the island of Gaso in the Gullmarsfjorden Nature Reserve where we are anchored. Gullmarsfjorden is Sweden’s first nature reserve, designated in 1983.
|
 |
Flaring Gas
Position: 58°14.66’N, 11°23.65’E
A local oil refinery in the distance flaring off natural gas. Years ago when flying into Dubai the desert was on fire with flared off natural gas. These days it’s less common where many jurisdictions require that their gas be used rather than flared off and, even where it’s not required, most operators prefer to monetize the gas products.
|
 |
Greasing Bow Roller
Position: 58°14.66’N, 11°23.65’E
Every 6 months we lubricate the bow rollers with trailer wheel bearing grease. This grease is heavy, lasts well, and is water resistant.
|
 |
Greasing Rudder Bearing
Position: 58°14.66’N, 11°23.65’E
When our Nordhavn 52 came new from the yard, it used a Delrin (white plastic) upper rudder bearing. This bearing material has the advantage of needing no lubrication and never rusting. But the disadvantage of Delrin is we needed to change the bearing every 1,500 hours. It just isn’t that durable. I eventually decided to have a replacement bearing fabricated in Oilite (oil impregnated bronze).
This approach yields a very durable bearing that will last 8,000 to 12,000 hours and still won’t rust. Strictly speaking this material sufficiently self lubricating that no further lubrication is needed for low speed use in a rudder bearing application. But, I decided to play it safe and install a grease fitting and to machine in grease channels. It’s been working quite well and I apply grease to this every 6 months. |
 |
FLIR Imaging
Position: 58°14.66’N, 11°23.65’E
Every 6 months we do a full scan of the breaker cabinet, the DC cabinet, and all high amperage connections using a FLIR One infrared camera . It’s important to do this test under maximum load, and what we are looking for is excess heat indicating a poor connection that is getting hot due to excess resistance or excess load for the size of the connector. We typically find nothing out of the norm. We strongly recommend that all electrical connections be torqued once a boat is a year old. We found a great many were lose. But it seems like once a boat has been in use for a while, they stay stable and don’t loosen off again. But, we all know someone or have read about someone with an older boat that was lost to fire. In our opinion, it’s worth checking.
This picture is of the 240V electrical panel while the generator is running. Looking at the 240V breakers in the center of the picture you can see that the oven and water maker are idle, the two chargers are running at full load, and the inverter and washer/dryer are running, but at fairly low load. The master breaker is warm but not hot. At the top of the picture, the 4 gauges above there are nice-looking but, as you can see here, they are wasting quite a bit of power. Along the bottom of the picture you can see 4 large manual transfer switches. If you look carefully you can see slight heat in the charger selector switch on the left and the rest are fairly cold. From this you can see that these manual transfer switches are reliable low resistance switches producing little heat. Even the switch on the left that is carry 43A is hardly even warm. |
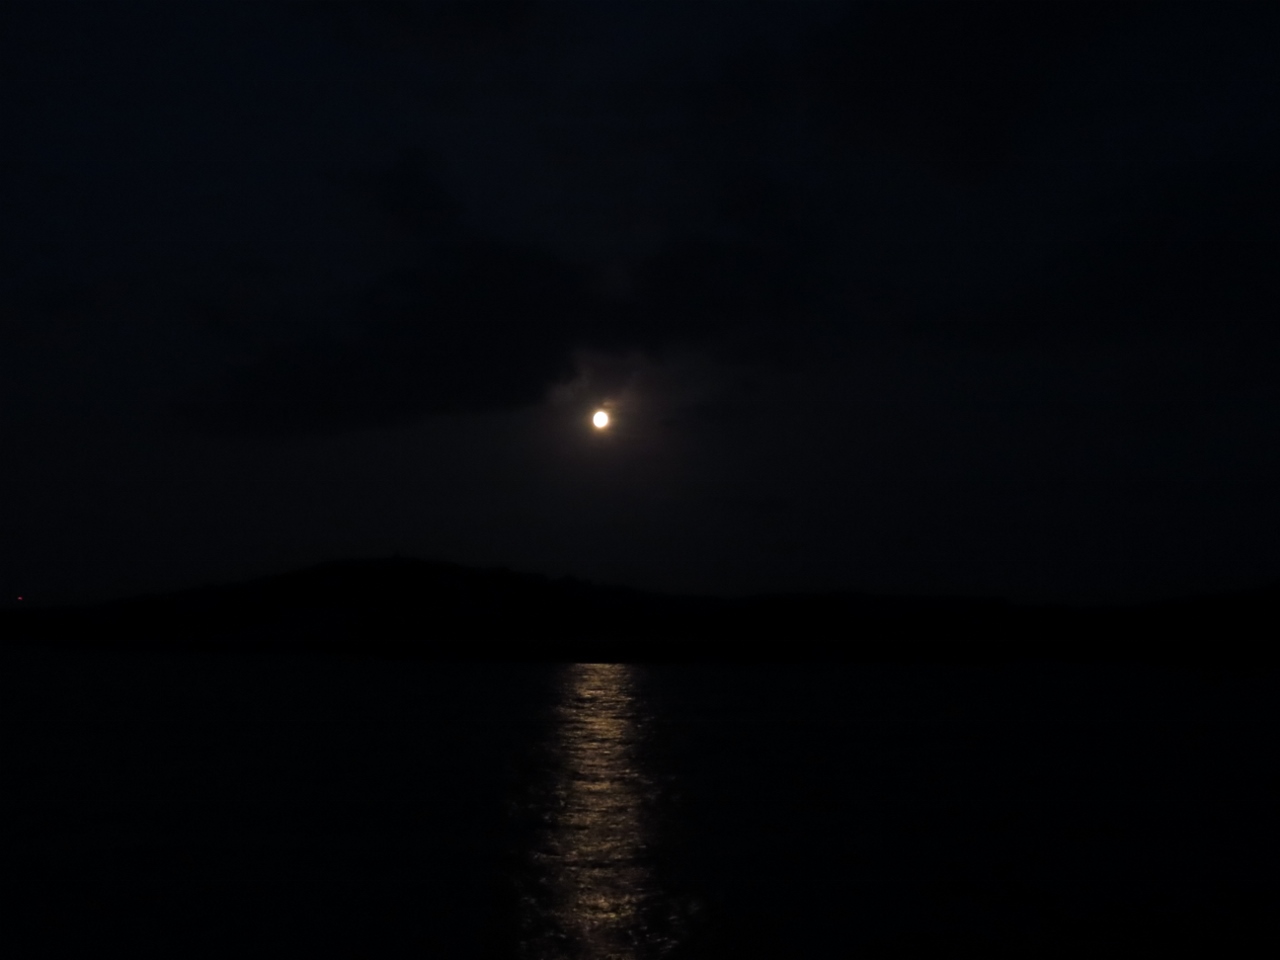 |
Moon
Position: 58°14.65’N, 11°23.68’E
Moon over the anchorage at the island of Gaso.
|
 |
Wind
Position: 58°14.70’N, 11°23.72’E
We’ve been seeing a lot of wind recently. Conditions settled down the past couple of days while we were at Gaso, but are back now. Today we’ve seen gusts to 40 knots.
|
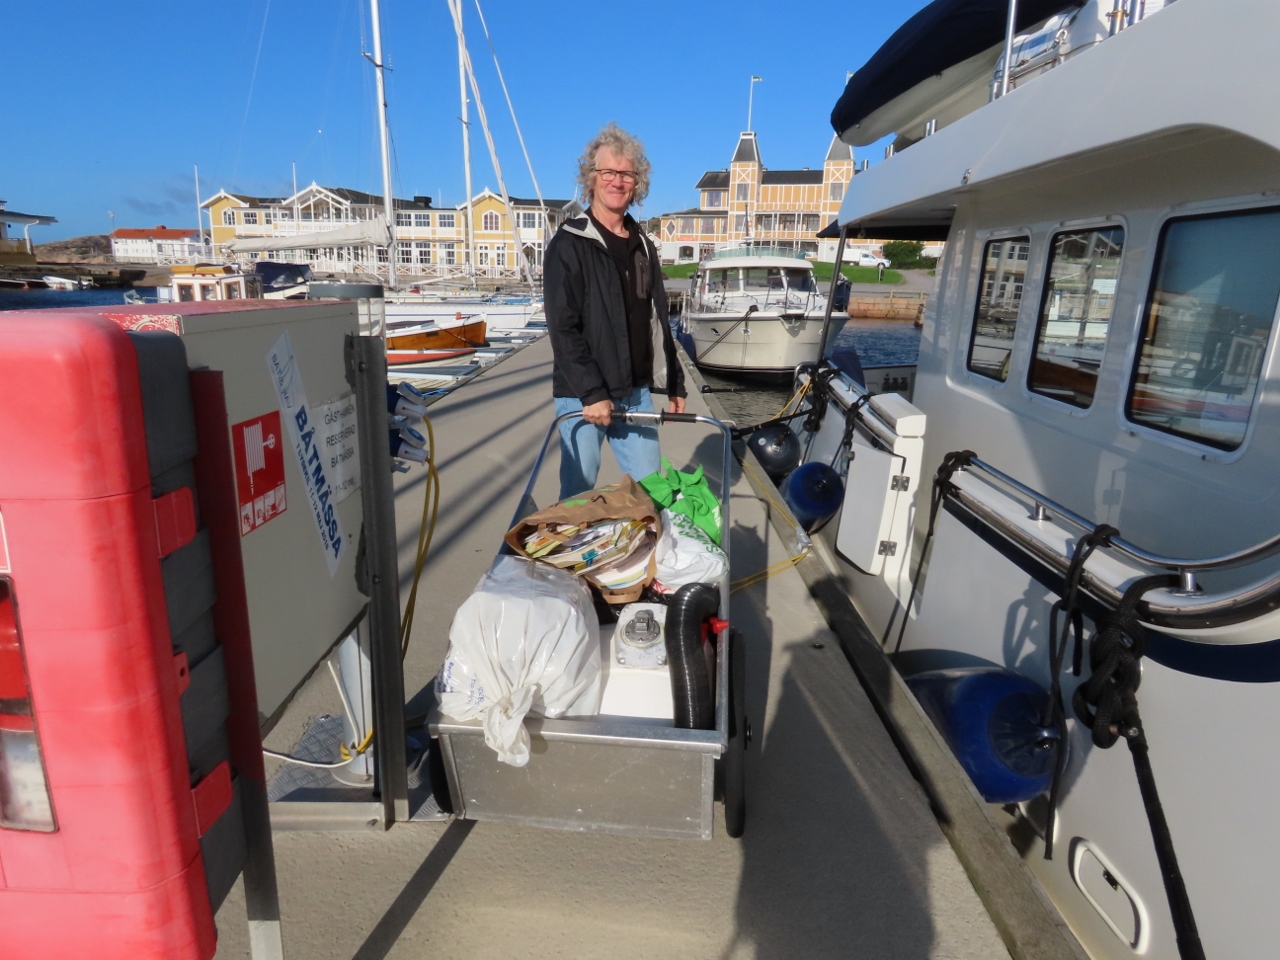 |
Garbage
Position: 58°16.14’N, 11°26.13’E
Getting rid of a load of garbage in our folding cart.
|
 |
Lysekil Map
Position: 58°16.36’N, 11°26.18’E
Jennifer pointing out our previous anchorage at the island of Gaso from a map of Lysekil and area with Gullmarsfjorden extending to the right.
|
 |
Systembolaget
Position: 58°16.45’N, 11°26.03’E
After picking up some groceries, we headed over to the bottle shop. We arrived shortly before they opened at 10am and were among almost a dozen people waiting for it to open.
|
 |
Wrasse
Position: 58°16.14’N, 11°25.92’E
Havets Hus, the aquarium at Lysekil, features over 100 different sealife species from the nearby Gullmarsfjorden. This is a colorful Cuckoo Wrasse.
|
|
|
Wolf Eel
Position: 58°16.14’N, 11°25.92’E
A wolf eel at the Lysekil aquarium. These creatures also are found in the Pacific Northwest—much of the local sealife was similar to what we’ve seen diving around the Seattle area.
|
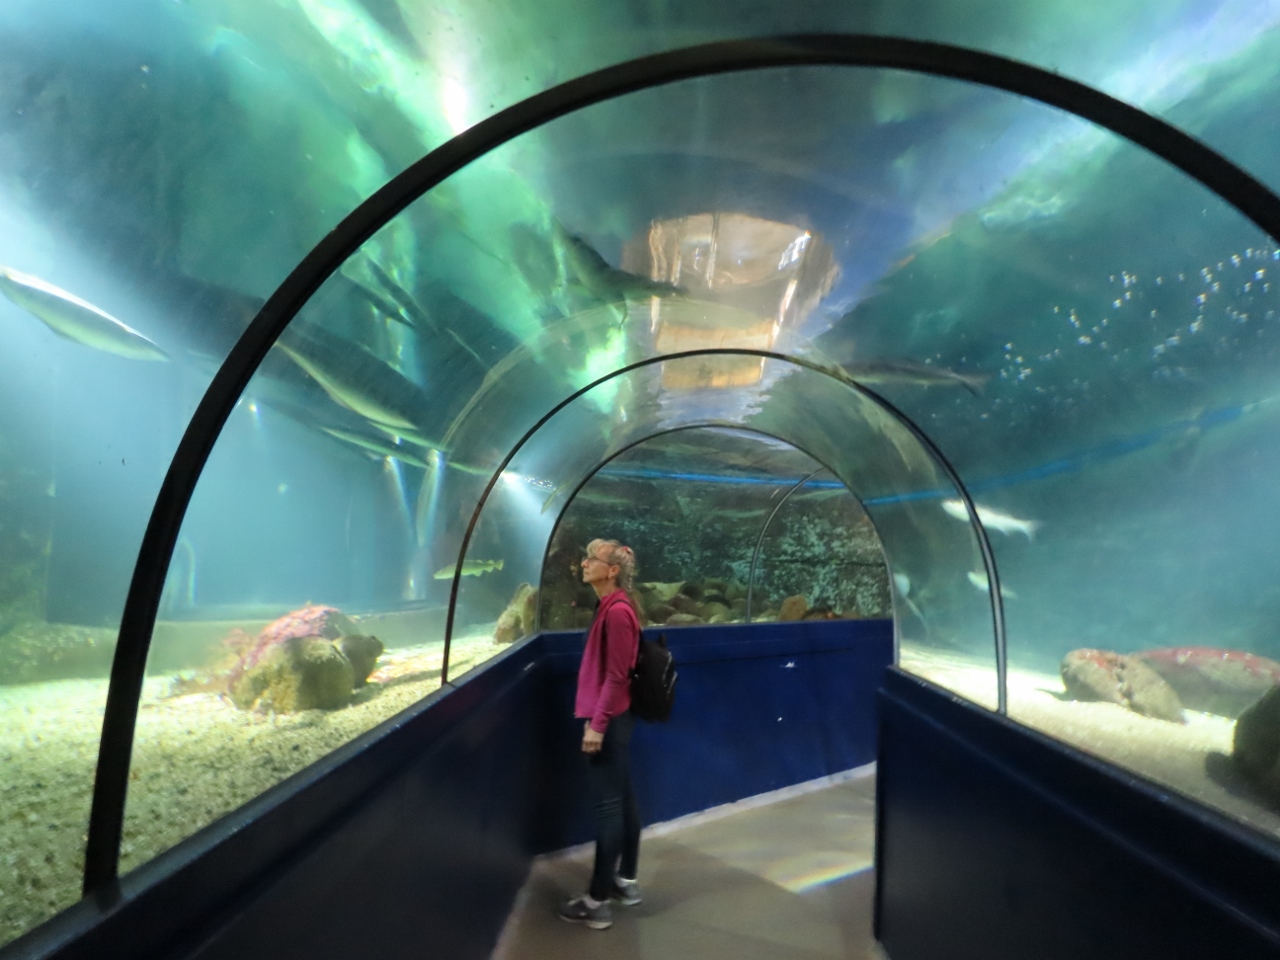 |
Tunnel
Position: 58°16.14’N, 11°25.92’E
Watching the creatures in a tunnel through the Lysekil aquarium’s largest tank, containing 37,000 gallons (140,000L) of seawater.
|
 |
Slaggo
Position: 58°16.07’N, 11°26.13’E
View back to Lysekil from the island of Slaggo. Dirona, moored at Lysekil Gasthamn, is at the far right of the picture (click image for a larger view).
|
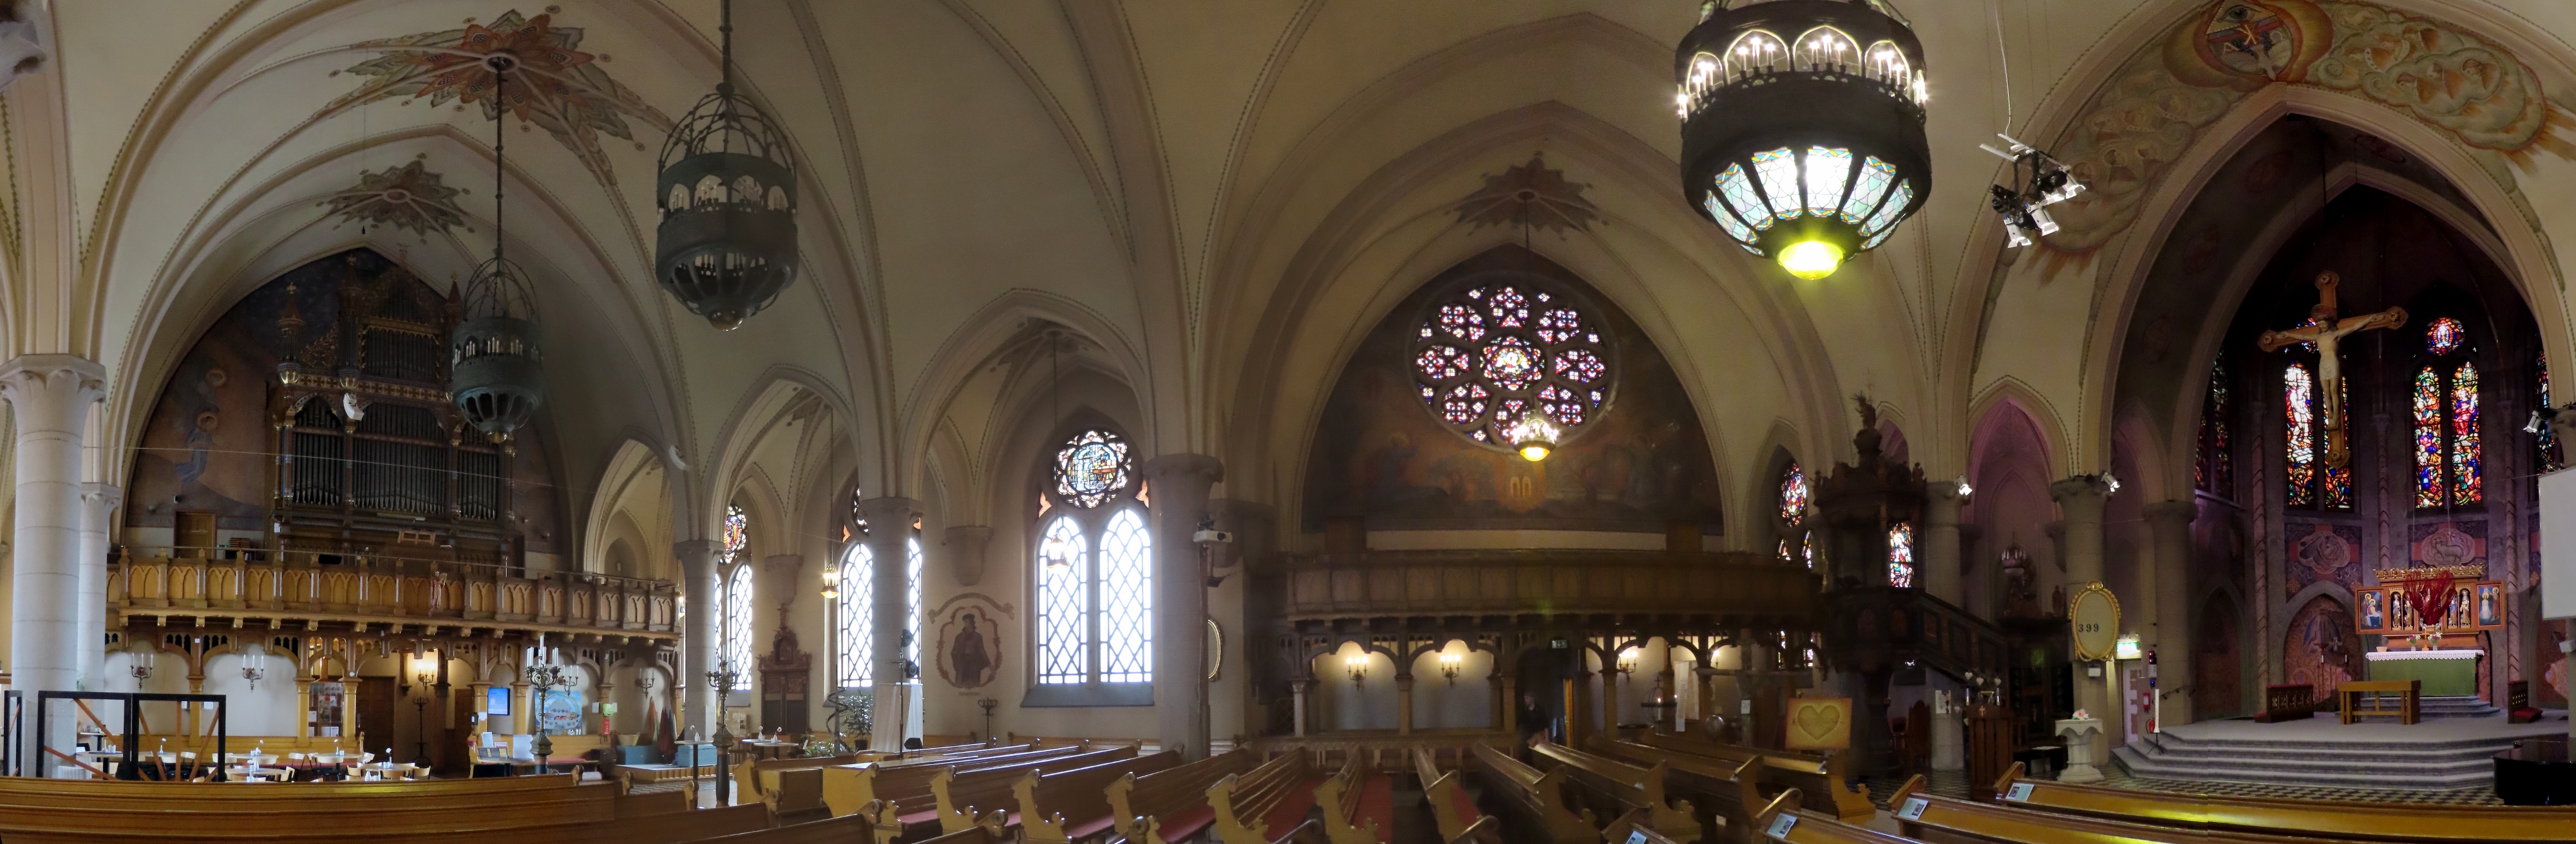 |
Lysekil Church
Position: 58°16.29’N, 11°26.05’E
The spectacular interior of Lysekil Church, completed in 1901.
|
 |
The Lookout Tower
Position: 58°16.37’N, 11°25.93’E
The Lookout Tower, built to resemble nearby Lysekil Church.
|
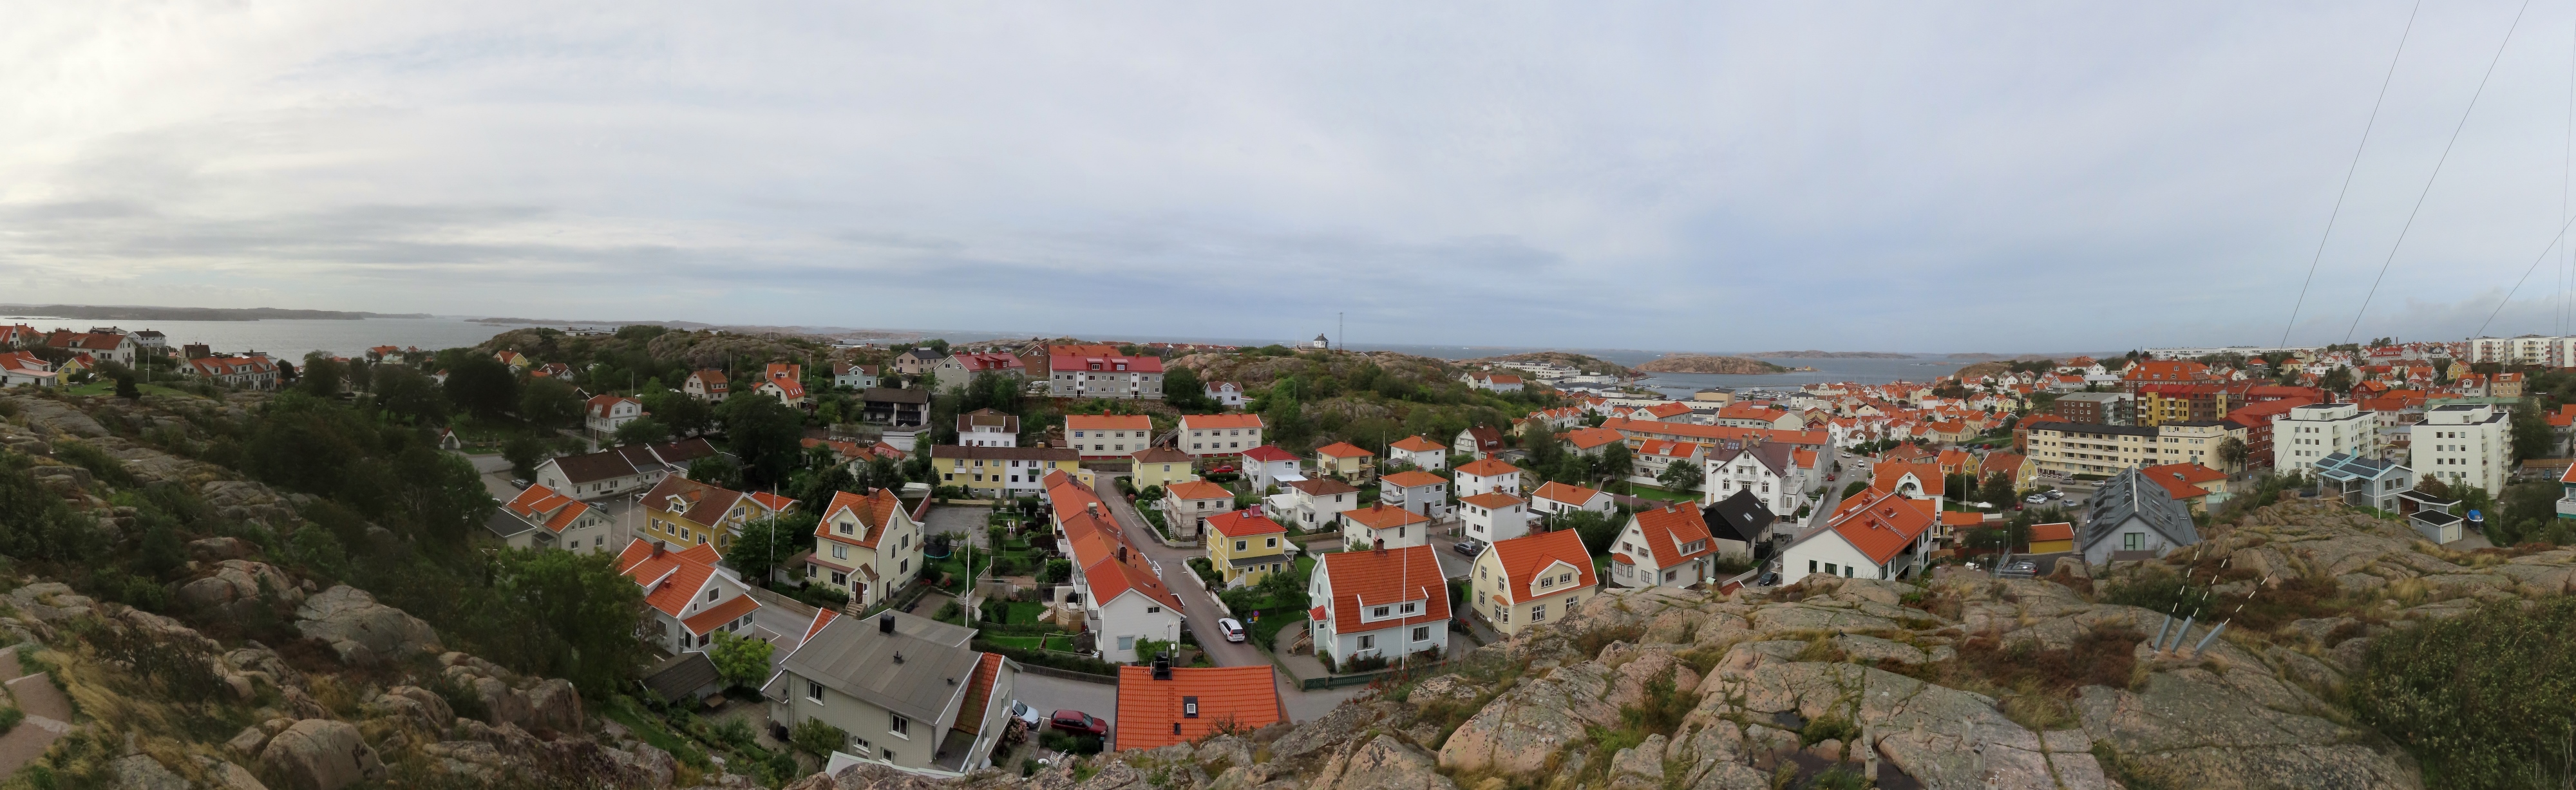 |
View from Lookout Tower
Position: 58°16.37’N, 11°25.93’E
The view northwest from the Lookout Tower (click image for a larger view).
|
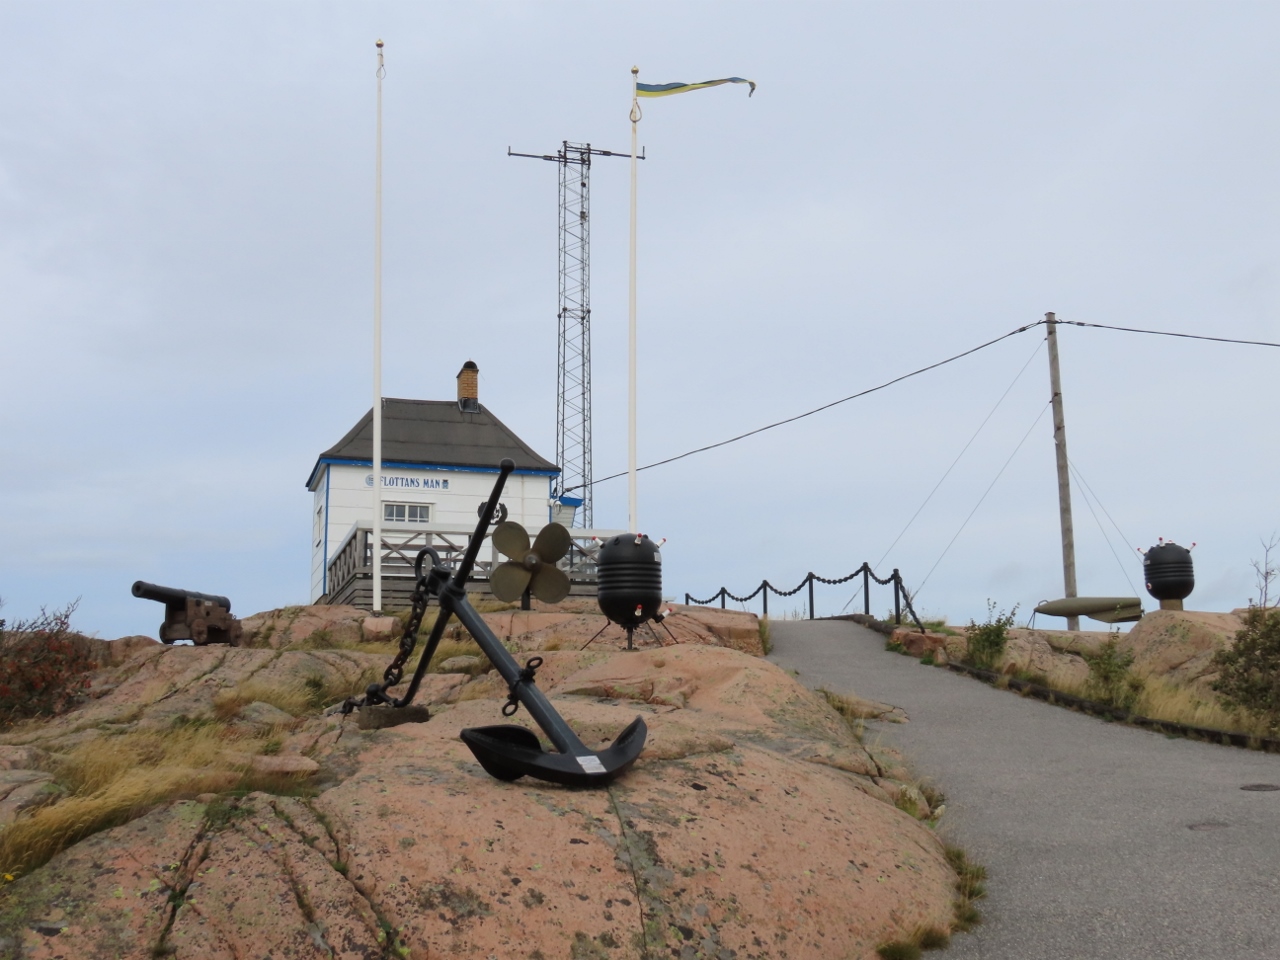 |
Flottans Man
Position: 58°16.36’N, 11°25.68’E
A former pilot lookout, now the clubhouse for Lysekil’s Navy Association, Flottans Man.
|
 |
Waves
Position: 58°16.37’N, 11°25.67’E
Waves sweeping over the islets north of Lysekil, viewed from Flottans Man.
|
 |
Flottans Man View
Position: 58°16.37’N, 11°25.67’E
The view north from Flottans Man, with Norra Hamnens Gasthamn visible in the distance.
|
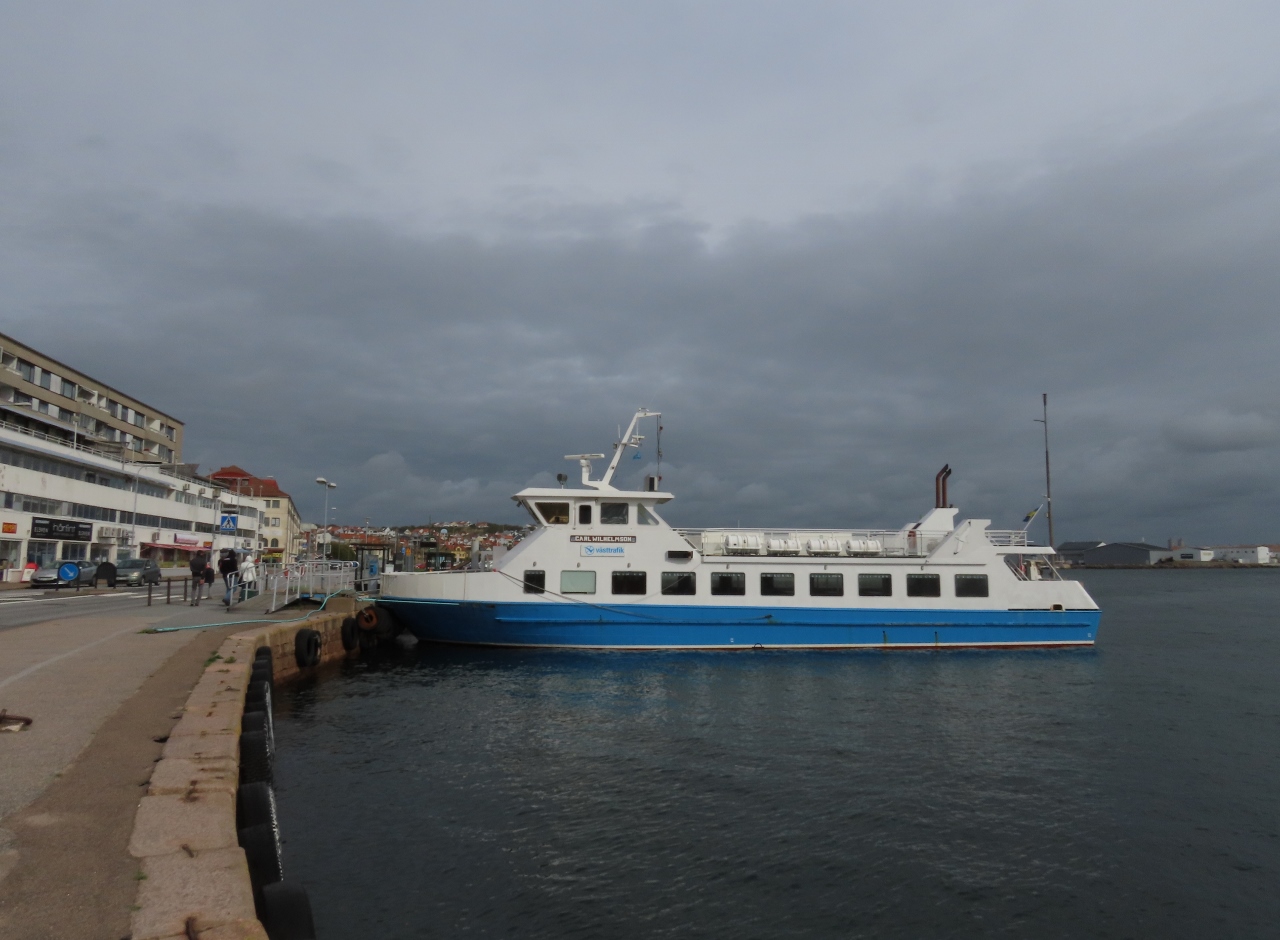 |
Ferry
Position: 58°16.34’N, 11°26.21’E
Lysekil has frequent ferry service to the surrounding islands. It seemed a ferry was always coming or going while we were there.
|
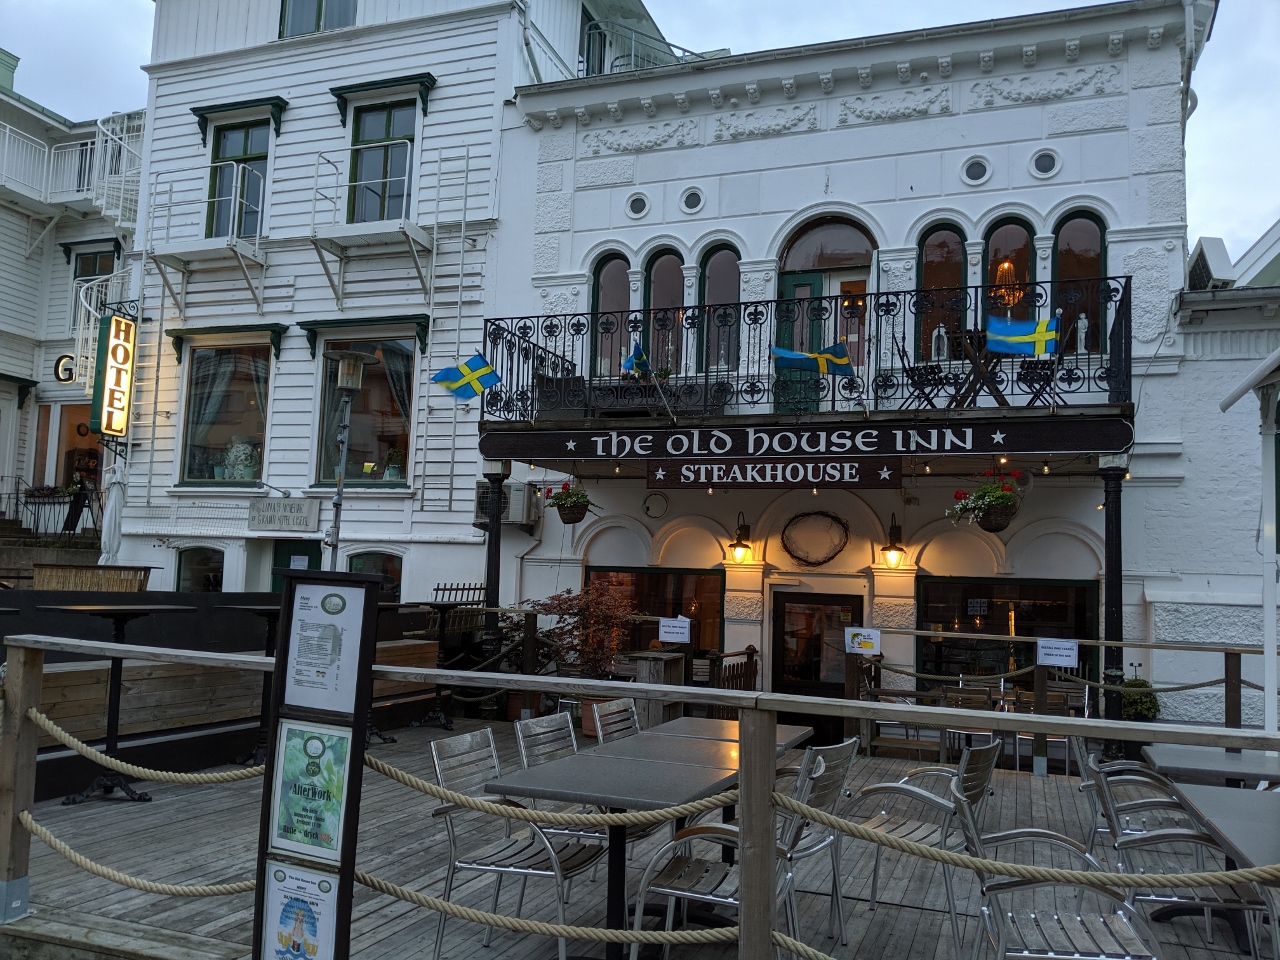 |
Old House Inn
Position: 58°16.45’N, 11°26.14’E
We had a good dinner in the great atmosphere of the Old House Inn gastropub.
|
 |
Click the travel log icon on the left to see these locations on a map, with the complete log of our cruise.
On the map page, clicking on a camera or text icon will display a picture and/or log entry for that location, and clicking on the smaller icons along the route will display latitude, longitude and other navigation data for that location. And a live map of our current route and most recent log entries always is available at mvdirona.com/maps. |
If your comment doesn't show up right away, send us email and we'll dredge it out of the spam filter.