
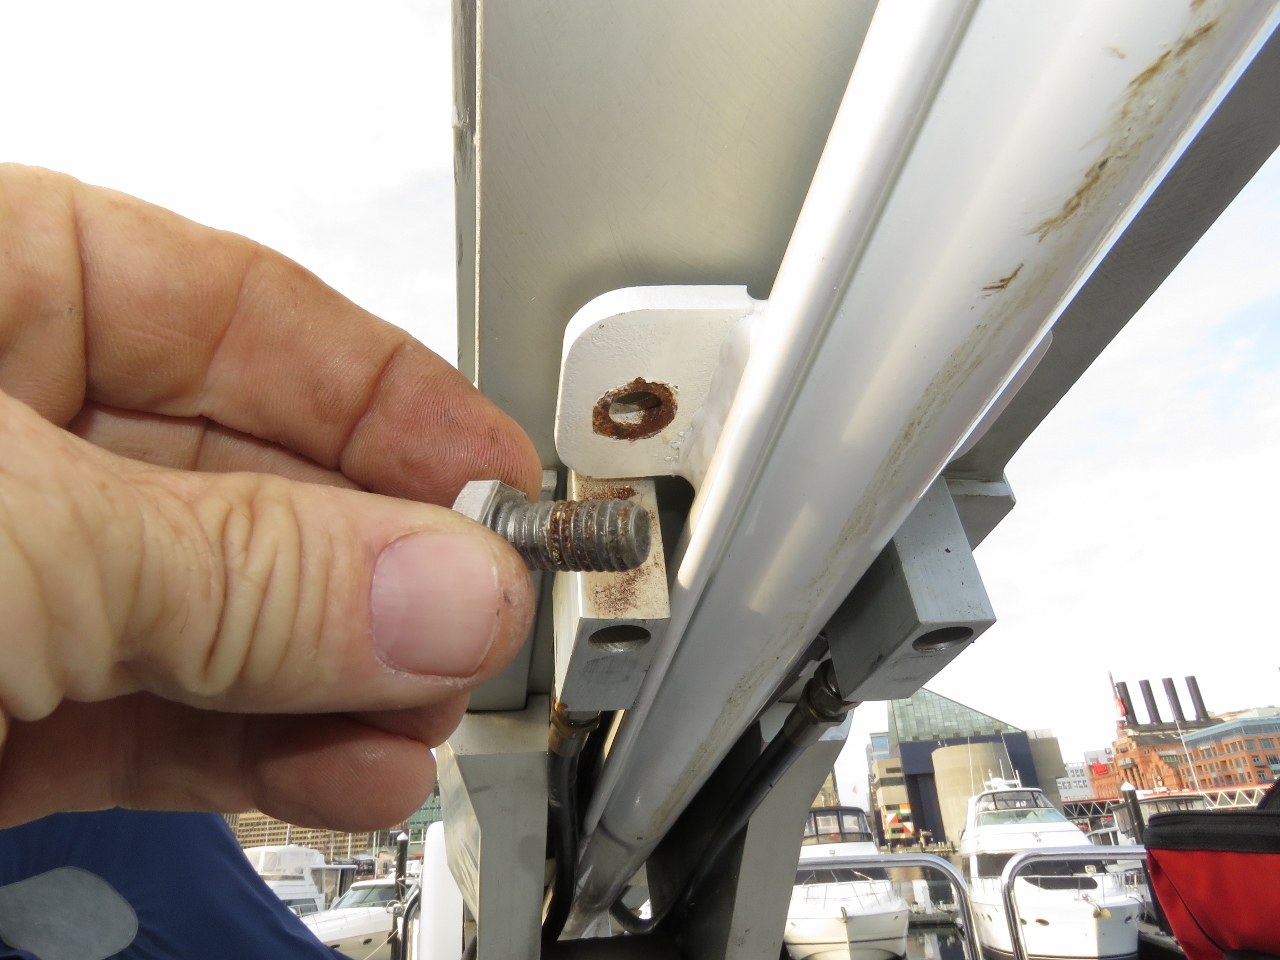
In Newport we found a washer on deck below the crane and concluded we likely had a critical crane issue, so stopped using it until we understood the problem. We later found a bolt on deck as we arrived into Baltimore. It was pretty clear that something was coming apart in the crane.
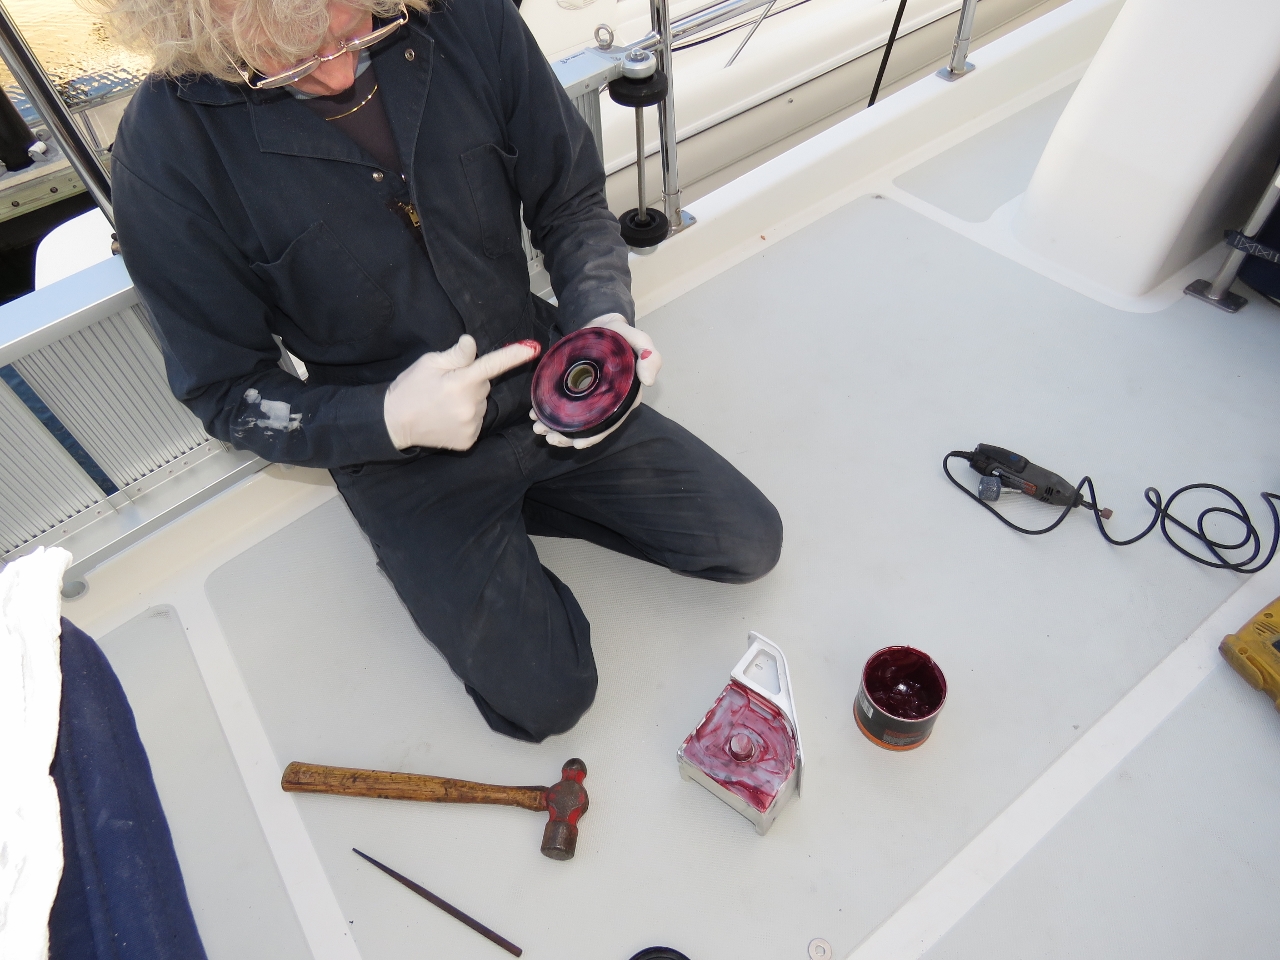
James took the crane apart and found the boom extension hydraulic ram mounting bolts were all loose. Two bolts were close to falling out, and the other two had fallen out, damaging the threads on the way out under load. It’s good that we caught it before more damage was done.
The boom extension ram has welded-on tabs for bolts visible in the second picture below. The tabs don’t bolt down flush and consequently the bolts flex under load and loosen off. We tapped out and installed ¼” longer bolts. Then we put washers underneath to space up to the excessively high tabs and torqued them all down with Loctite. This issue is now resolved and it will no longer flex and self loosen.

|
|
There was a second crane issue we wanted to attend to at the same time. The up/down rope was starting to show some friction when operating without load. We suspected it was just friction in the sheaves the rope runs over inside the boom extension. Unfortunately, the sheaves can only be accessed after removing the boom extension from the crane and then removing the linear winch from the boom extension.
Removing the boom extension requires taking off the hydraulic lines driving the linear winch and then removing the four screws that attach the hydraulic extension ram mentioned above to the push block. This is same ram that had come free from the boom but we’re now looking at the other end of the ram where it attaches to the boom extension.
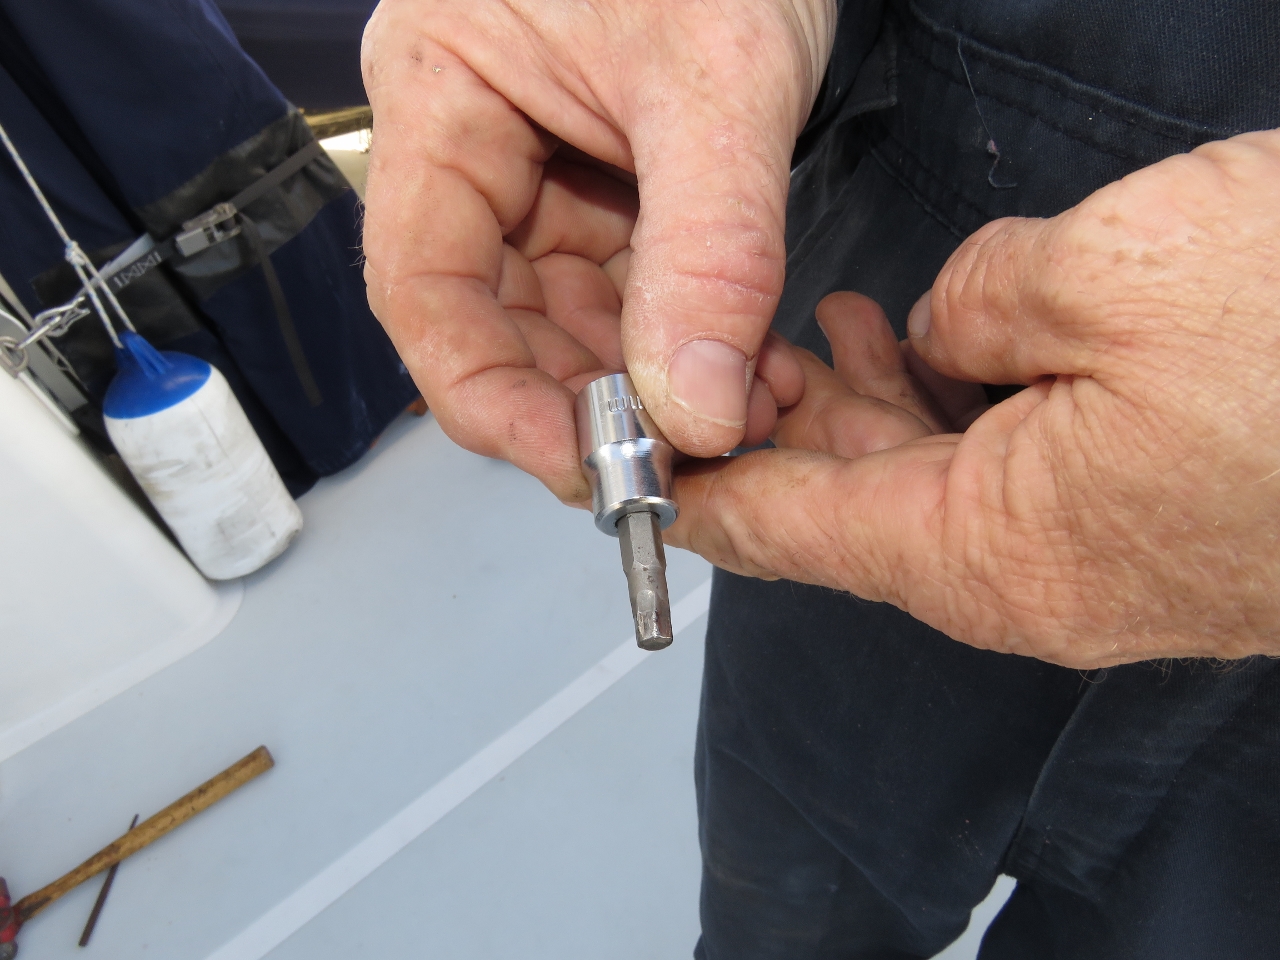
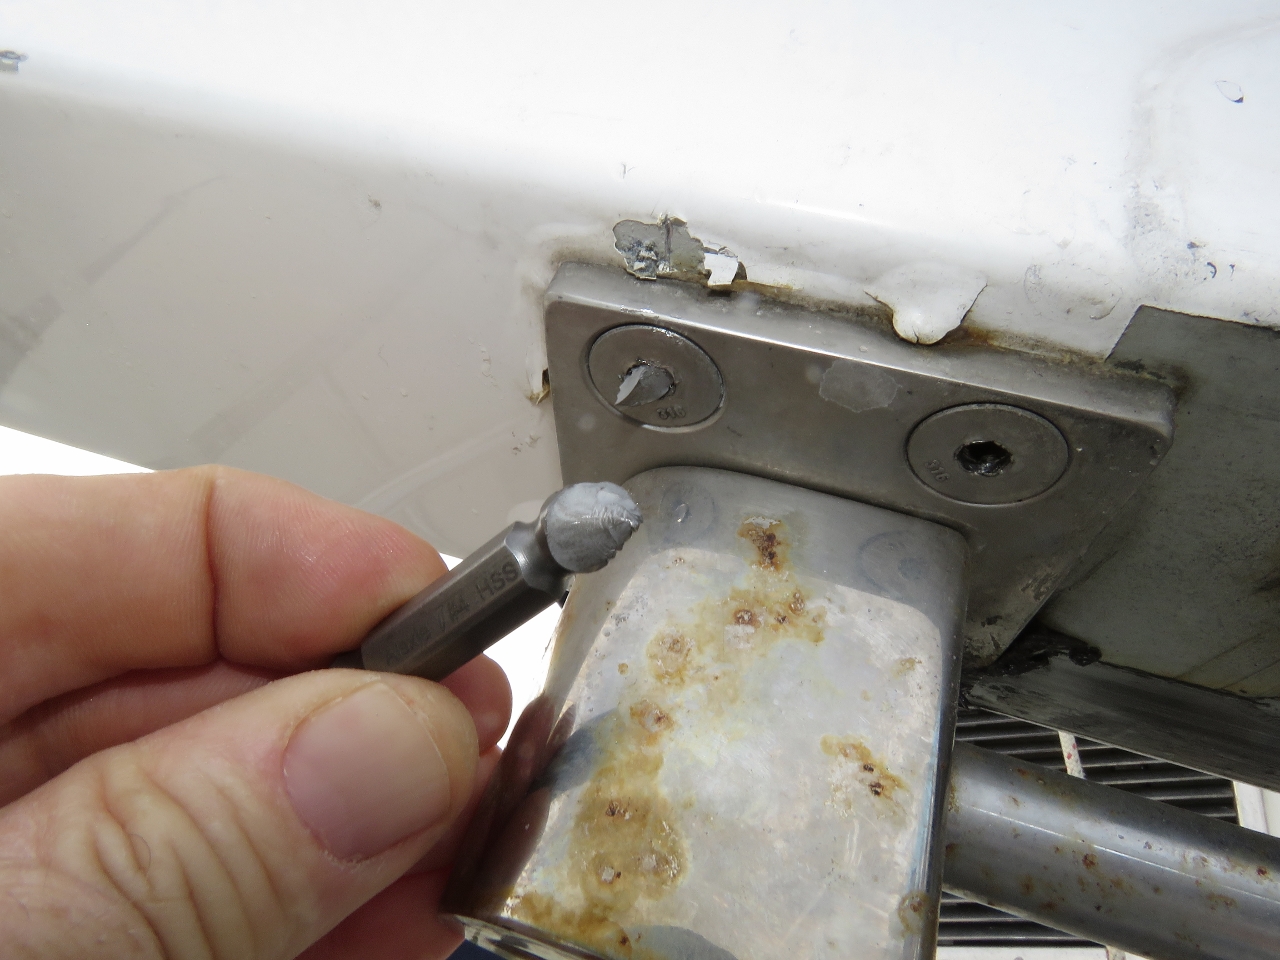
Here we had the opposite problem. Rather than come loose, the stainless screws were effectively welded into the aluminum housing by rust. You can see some bubbling paint in the region in the second picture below. James applied progressively more force until eventually he was using an impact wrench One hex key socket twisted (first picture below), and one screw was damaged. There was no way they were coming out.
We next tried an Easy Out. It took progressively more load until it shattered predictably with part of the easy out still in the hole (second picture below). We were able to remove the Easy Out but it’s clear that these four screws will need to be drilled out in order to lubricate the linear winch sheaves and replace the lifting rope. Neither job is urgent so we decided to order parts and return the crane to work. We’ll open it up again for this second job once we have the parts and the time.
|
|
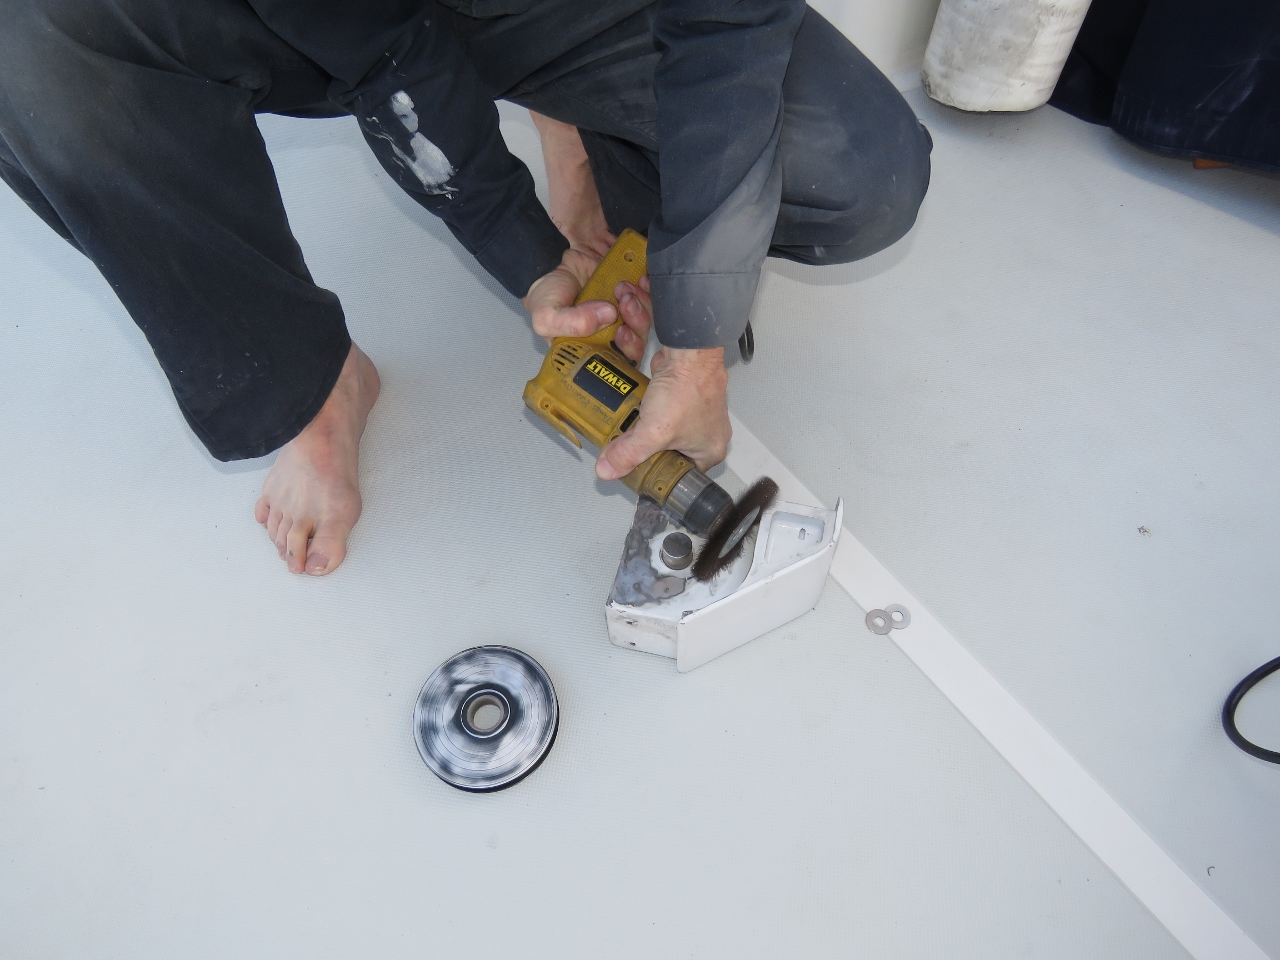
While failing to remove the boom extension, we were able to get the extension nose casting out, which includes the nose pulley. Minor corrosion was causing the pulley to have more friction than it should. We cleaned off the corrosion and lubricated the friction surfaces which helps the up/down operation to operate freely without excessive friction. But we will need to eventually take out the linear winch to lube those parts as well. For now the crane is back to the safe and reliable operation we have come to expect from it.
|
|

|
|
James, this probably isn’t the place to pose this question, but I searched and cannot find where you’ve commented on what you used for rode markers on your old boat. I know you have an electronic counter on your current Nordhavn. I’ve tried paint, plastic ribbons, cable ties–nothing lasts. Thanks.
Good question. On our previous boat, we started using paint markers but they wear off and it’s hard to paint the chain on the boat without mess and taking the chain down is way too much work. We then went to color coded cable ties. I forget the exact code but it was something like each 100′ is a red marker and each 25′ is a blue one and we just watch and count marks on the way out. Cable ties where off as well so I would put cable ties on several links in a row. With 5 or more marks, they where and fall off evetually but, as long as you get to it before they all wear off, you don’t lose the position. It’s quick and easy to install wire ties and they wear surprisingly well.
On Dirona, we use a chain counter which is worth the cost in our opinion. The downside is it’s a bit of work to install and it is yet another fault mode.
Thanks James. It looks like I’ll just have to break down and get a chain counter. While we’re on the subject of anchoring, I anchor quite a lot, and never back down on my anchor, and I’ve only dragged anchor one time in many years of anchoring, and that was due to very hard clay bottom. My theory is that the anchor has to hook back up on its own at tide change, and knowing it won’t do that is important; not backing down on the anchor when you first drop it will show if it can hook up on its own. My second reason for not backing down on the anchor is that the extra digging in will often foul the anchor with mud and sand (I anchor on the east coast of the US), which makes the anchor less able to re-hook up after a tide change. I’d be interested to hear your opinions about backing down or not on the anchor. I know it’ll be highly dependent on the bottom conditions, but your general opinion would be greatly appreciated. Thanks.
You mentioned the downsides of backing down hard on an just dropped anchor and I largely agree with your list. The argument on the positive side is that, if you don’t back down, you don’t know if it’ll hold. 99% of the time you will be fine but, if you don’t test the set, you do run risk. My take is that I would rather suffer the disadvantages you correctly describe and avoid the risk of finding out you do not have a hold in those rare cases where you get tested by heavier winds.
The problem with anchoring is that 99% of time, you see very little wind and, as a consequence, very rarely if ever get tested. When tested, 99% of the time, it holds fine. But the thing we have to keep in mind is even very rare events are worth avoiding if the potential outcomes are sufficiently negative.
James,
Just a thought. That trick has always worked for me on Farm equipment.
I appreciate your contribution John. I’ve used the same technique effectively as an auto-mechanic but I wasn’t able to make progress on this one and I drove them pretty darn hard. Heat probably would work but it would take off the paint if one was not super careful. At this point, I’ll likely have to drill them out but I haven’t yet commited to that task and, for now, the crane is fully operational.
James,
Have you tried using a brass punch and hammer. Just place the punch on the head of the bolt and give a few good hits with the hammer. Then try to un-screw them. It won’t damage the screw heads, but might break them loose.
John asked “Have you tried using a brass punch and hammer. Just place the punch on the head of the bolt and give a few good hits with the hammer.”
Oh yes, absolutely. They have had penetrating oil, tapping, and hit hard with an impact wrench. I’ve learned over the years as an automechanic that the steady pull of arm strength is not nearly as effective as the shock of an impact wrench. I have broken off an allen socket and later an easy out. These will need to be drilled out. There is no immediate reason to tackle this one so I’ll get the parts I need and tackle this when the weather is good and I have the time.