
Facheux Harbour is the longest, at about ten miles, and deepest fjord on the south coast of Newfoundland. Surprisingly, a good anchorage is at the head in 45ft. The steeply-sloped sides make shore access difficult, but we did find a track to the top, complete with climbing ropes.
Trip highlights from Aug 19th follow. Click any image for a larger view, or click the position to view the location on a map. And a live map of our current route and most recent log entries always is available at http://mvdirona.com/maps
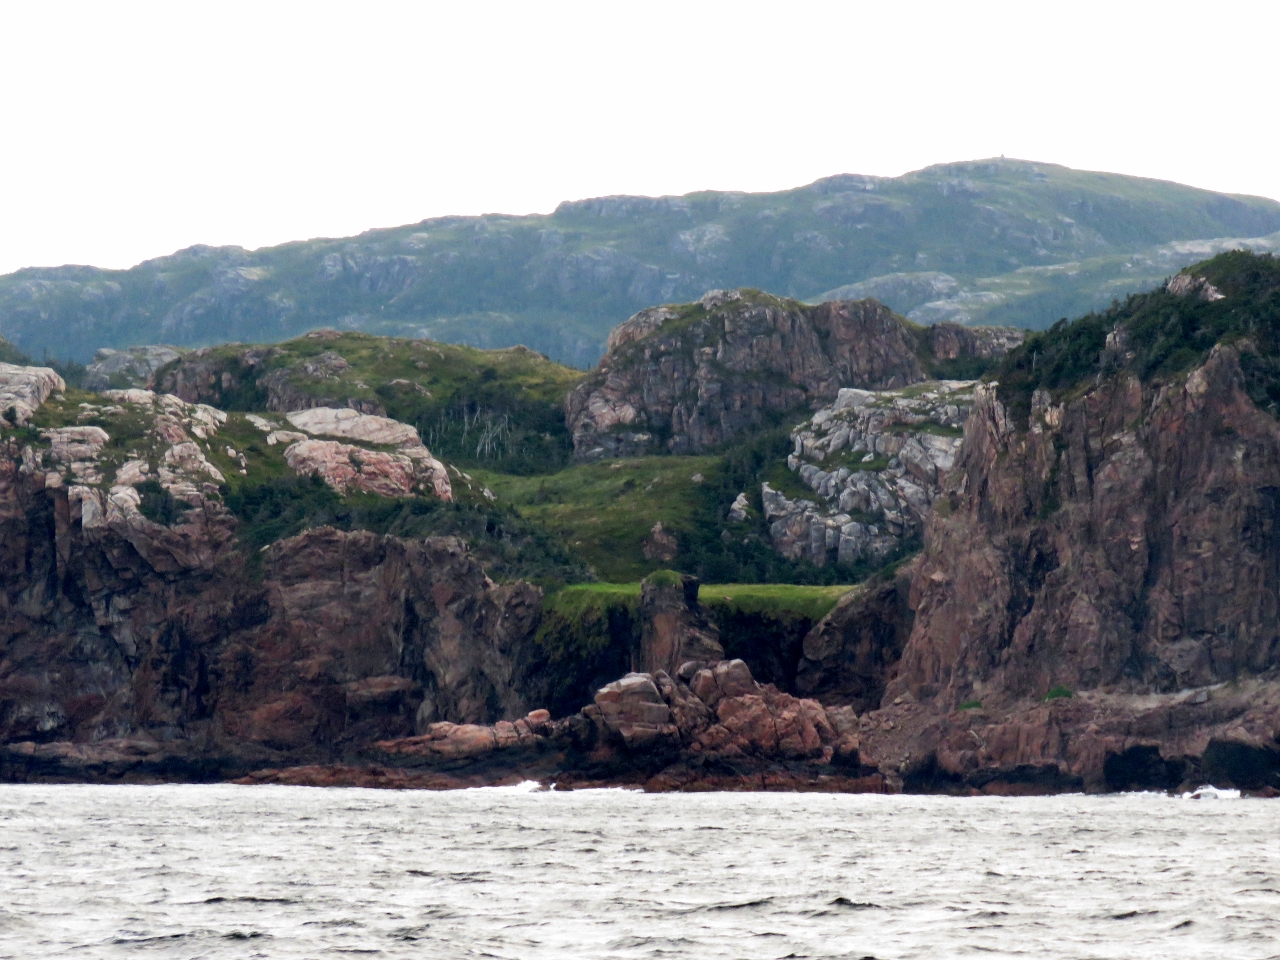 |
Taylor Island
Position: -56 12.77, 47 36.32
The shoreline at the south end of Taylor Island is so varied and unusual-looking that it appears man-made.
|
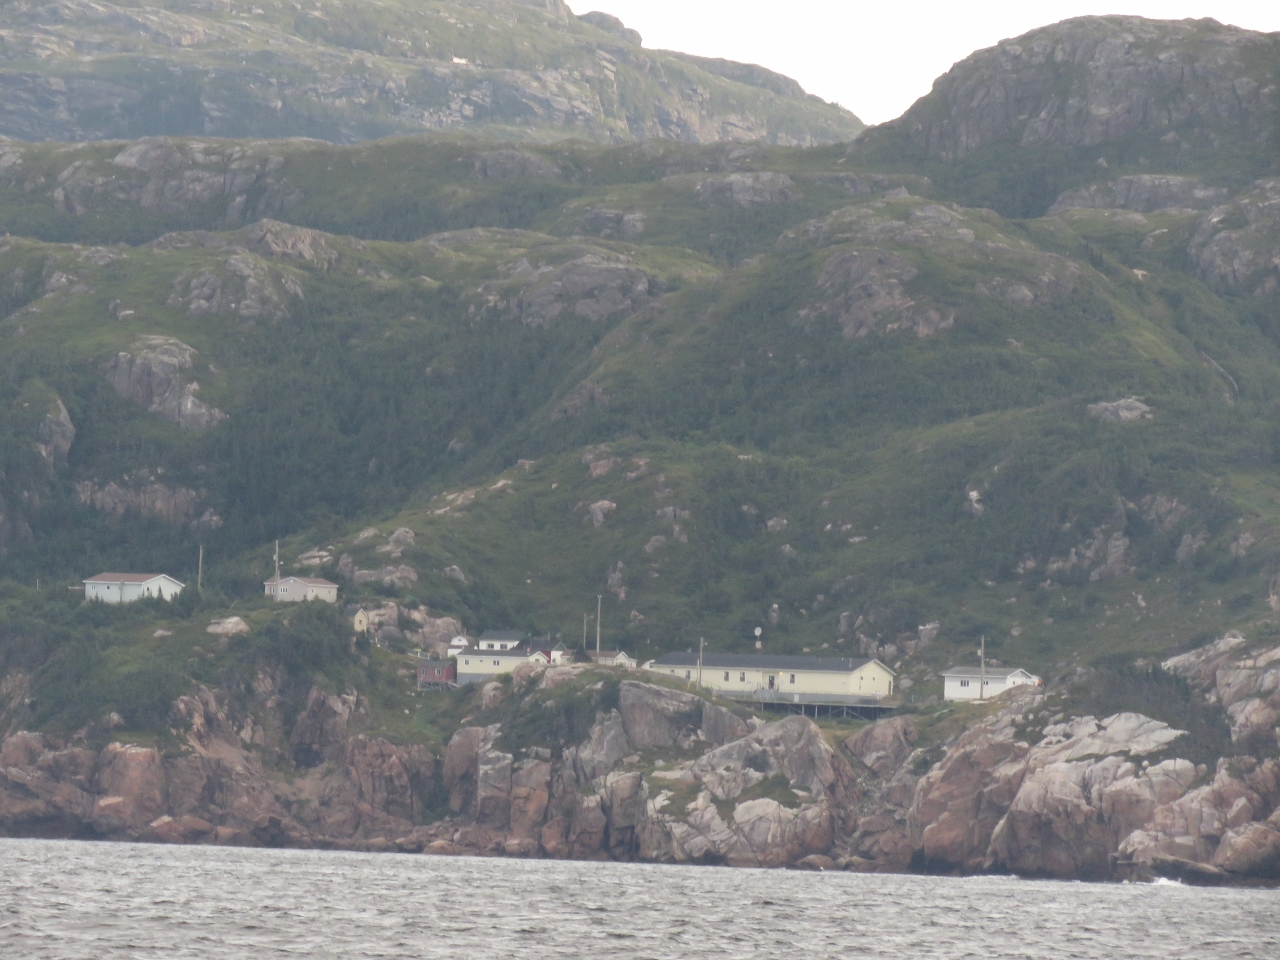 |
McCallum
Position: -56 13.89, 47 36.30
The large cream-colored building is the McCallum elementary school. McCallum has a population of roughly 100 and, like Gaultois, is accessible only by boat or air and also is served from Hermitage by the ferry Terra Nova.
|
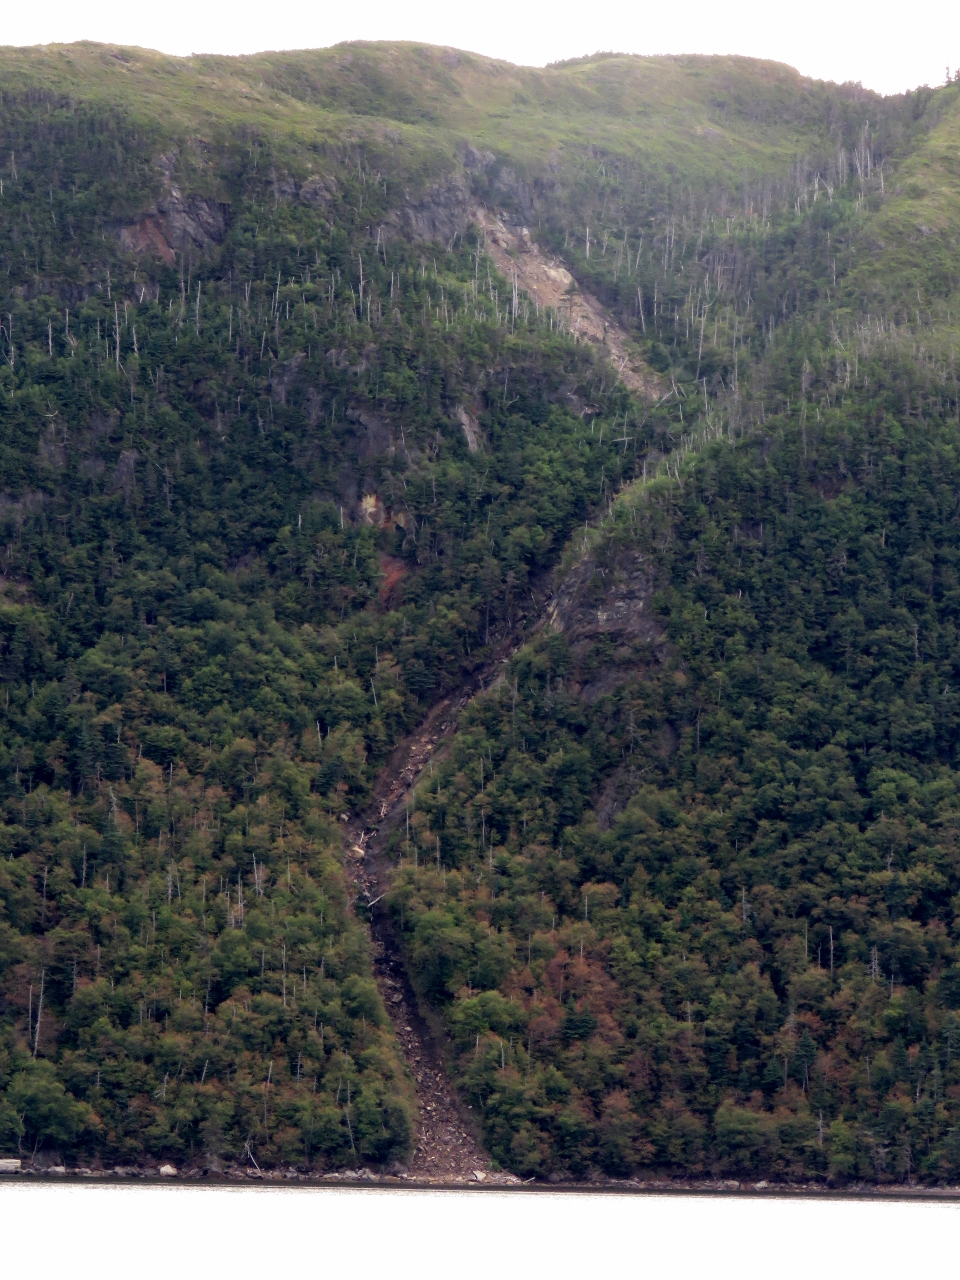 |
Slide
Position: -56 18.97, 47 39.74
A massive slide along the shore of Facheux Harbour (pronounced Foo-she Bay). The slide is so wide and even it looks much like a power-line line path.
|
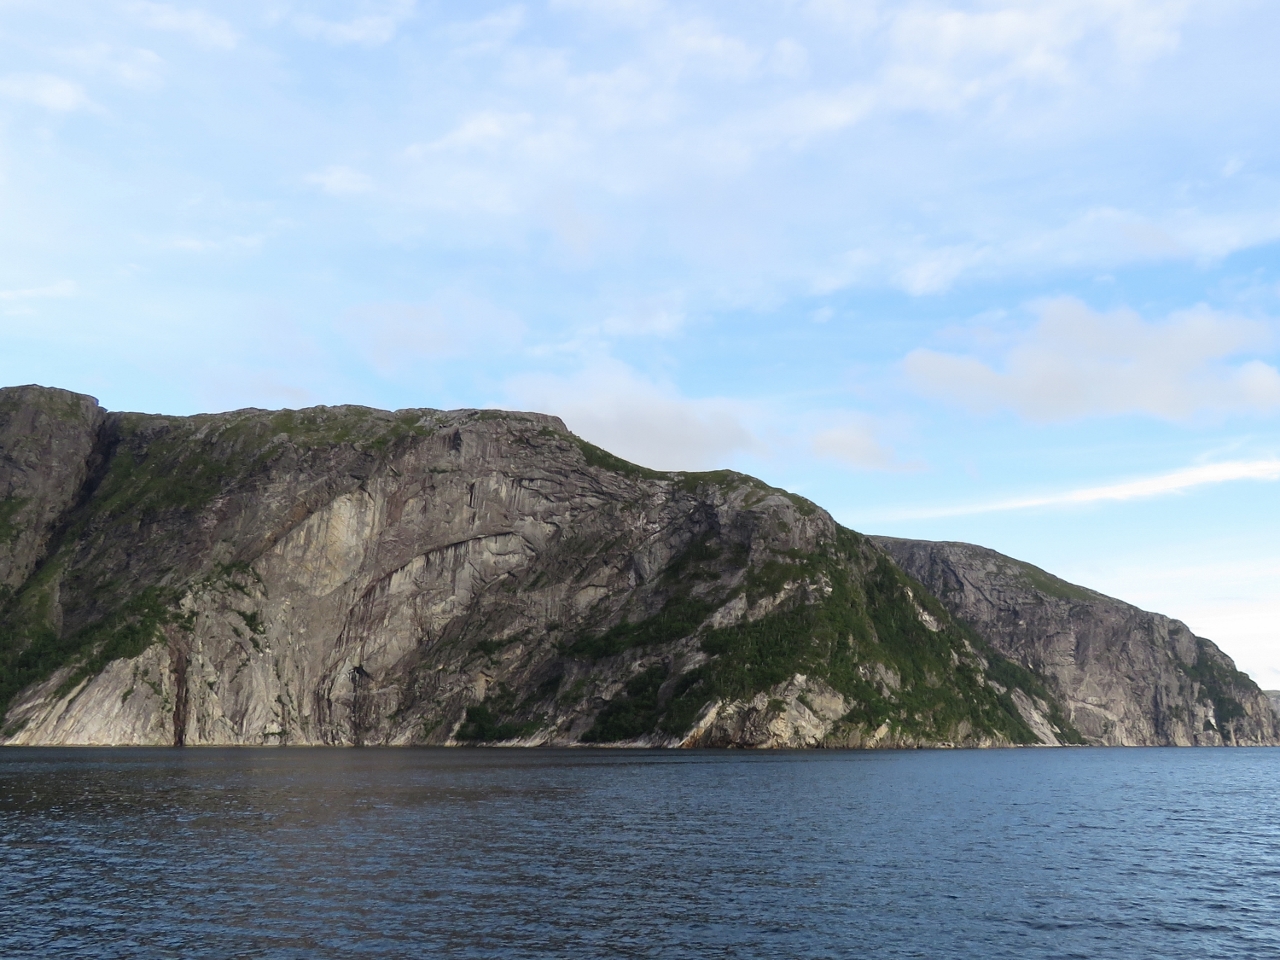 |
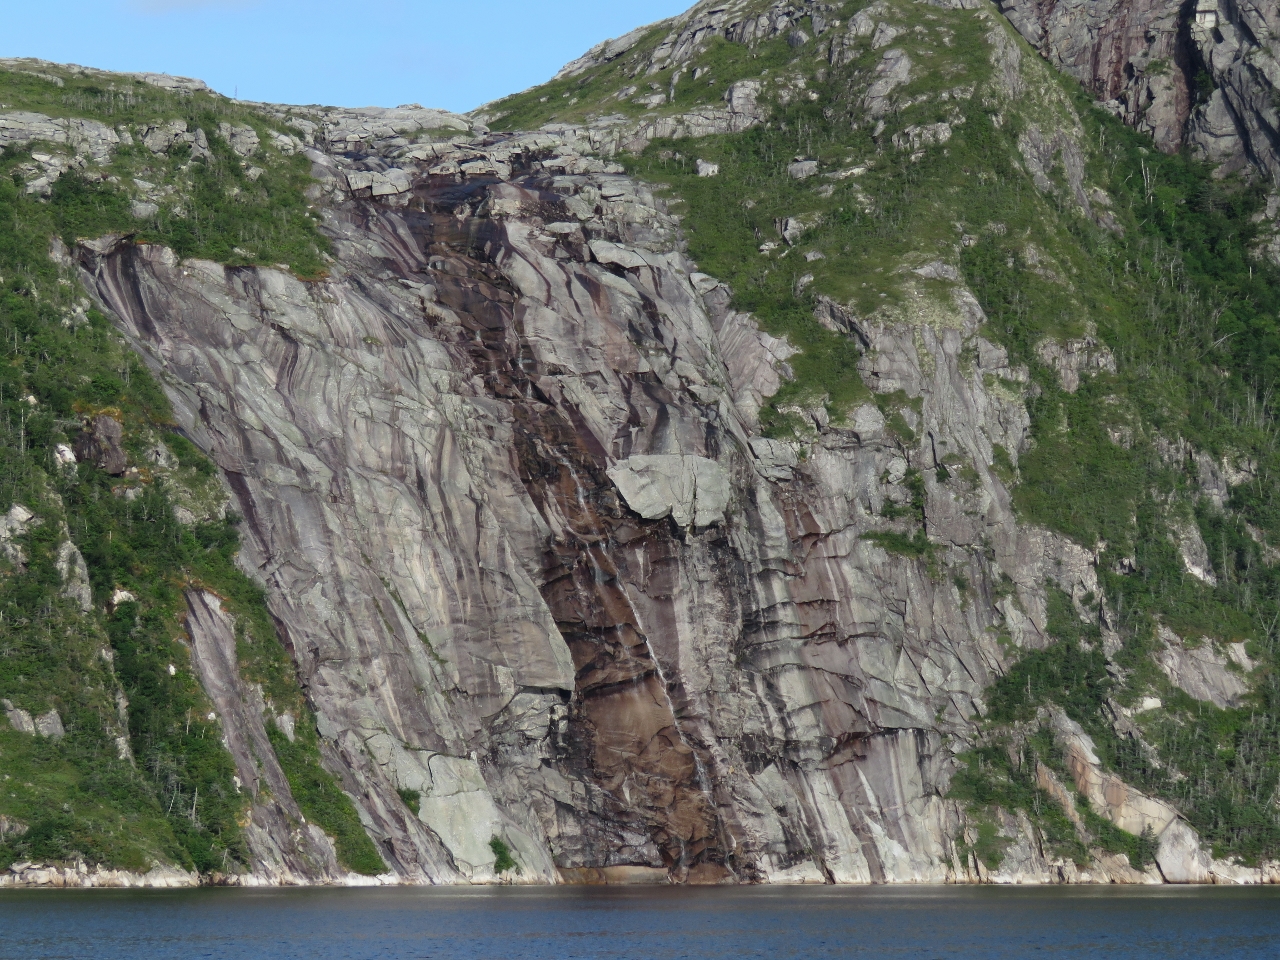
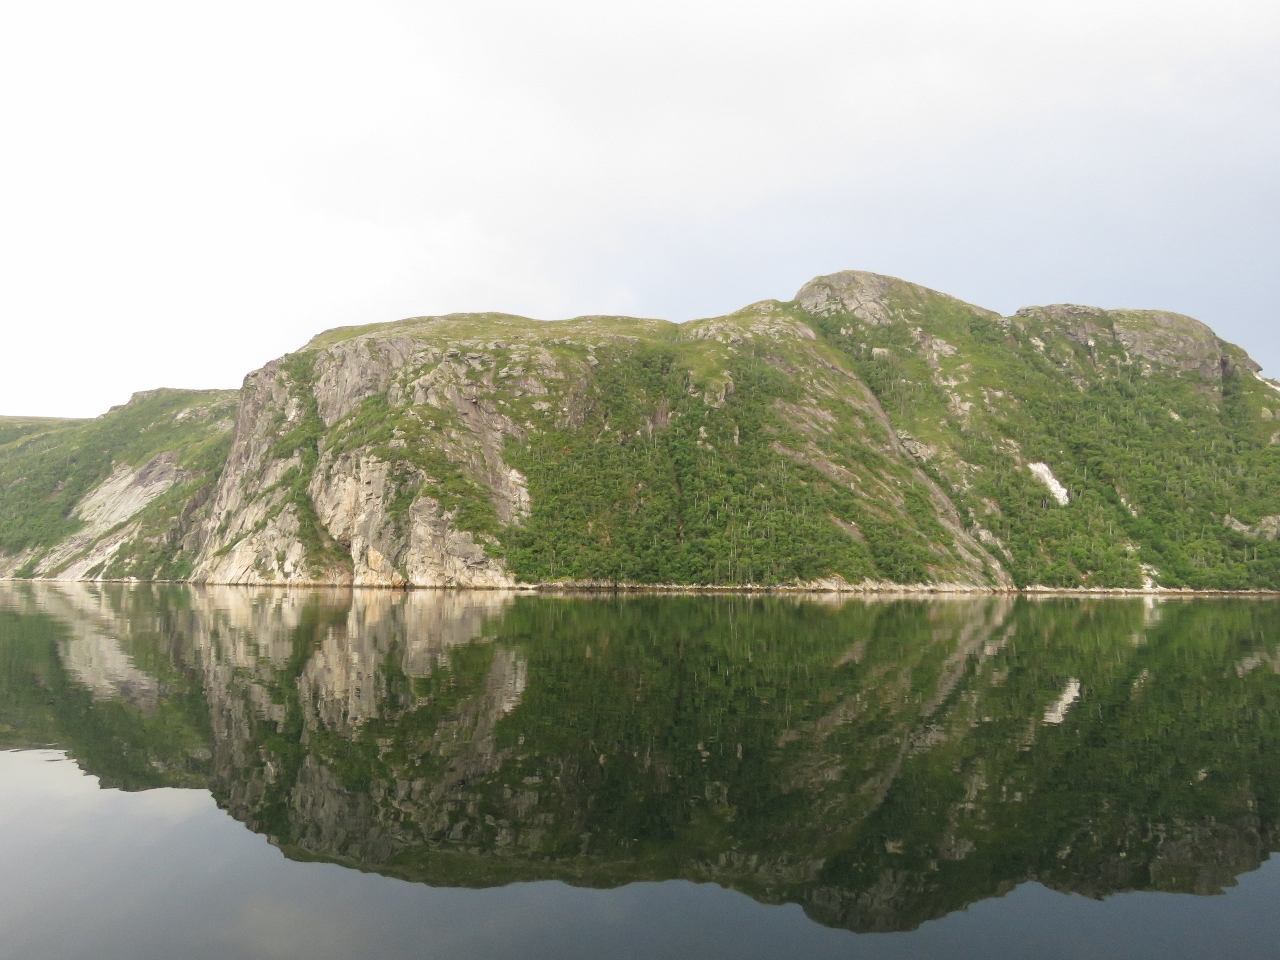
Cliffs
Position: -56 19.14, 47 42.30
More stupendous Newfoundland cliffs north of Brent Cove in Facheux Bay.
|
 |
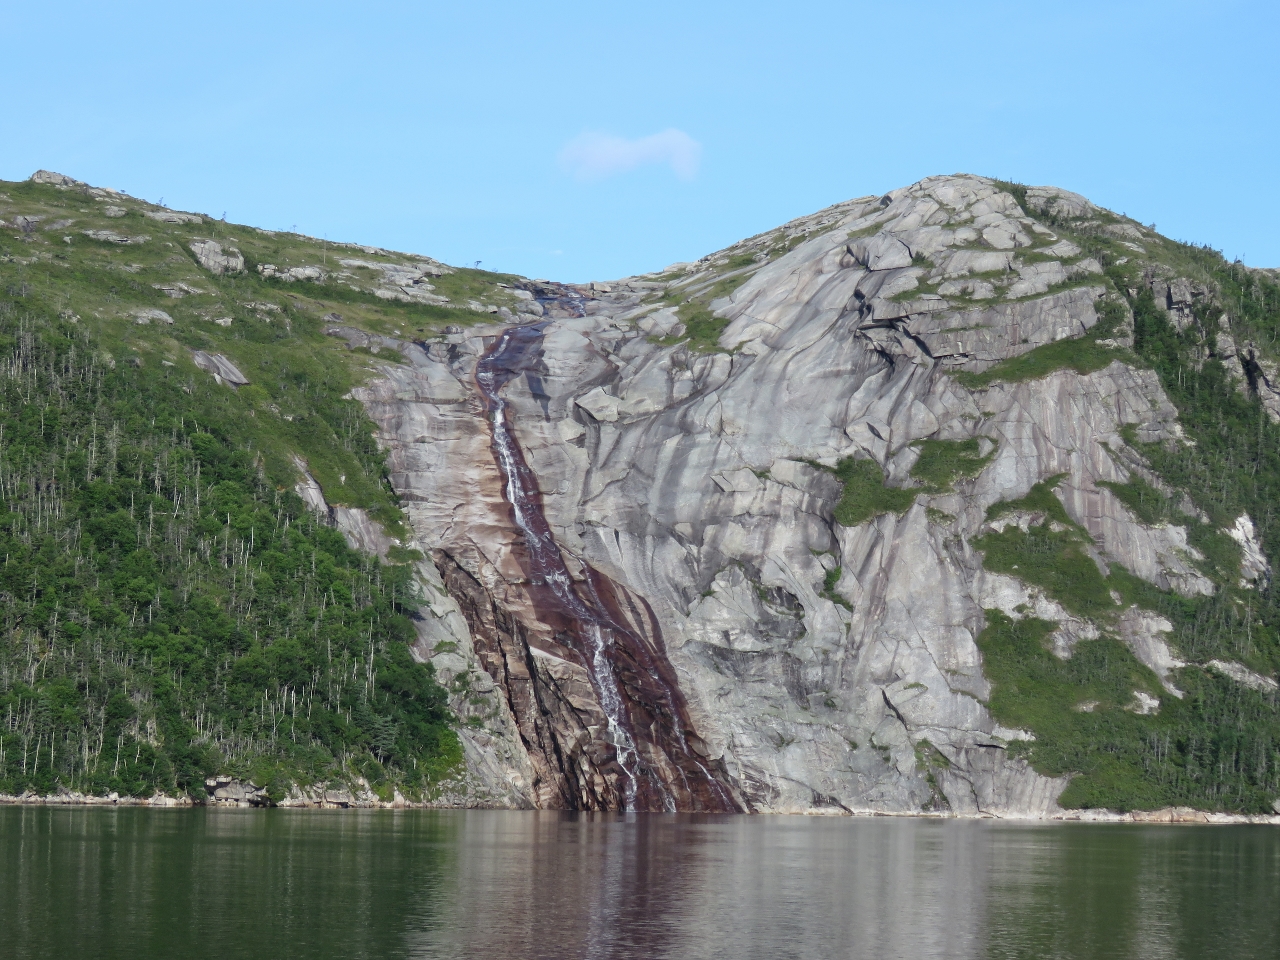
Waterfall
Position: -56 19.34, 47 44.36
This waterfall near the head of Facheux Bay spills down several hundred feet over a mostly smooth rock surface.
|
 |
Facheux Harbour
Position: -56 19.46, 47 45.87
Facheux Harbour is the longest, at about ten miles, and deepest fjord on the south coast of Newfoundland. Surprisingly, a good anchorage is at the head in 45ft. You can also go a little farther and anchor in the cove north of Tickle Point.
|
 |
Shoreline
Position: -56 19.38, 47 45.14
The shoreline around the head of Facheux Bay is quite steep with no easy place to get ashore. After a survey of the area, we decided that the scrub to the left of this fall along the west shore looked the least difficult.
|
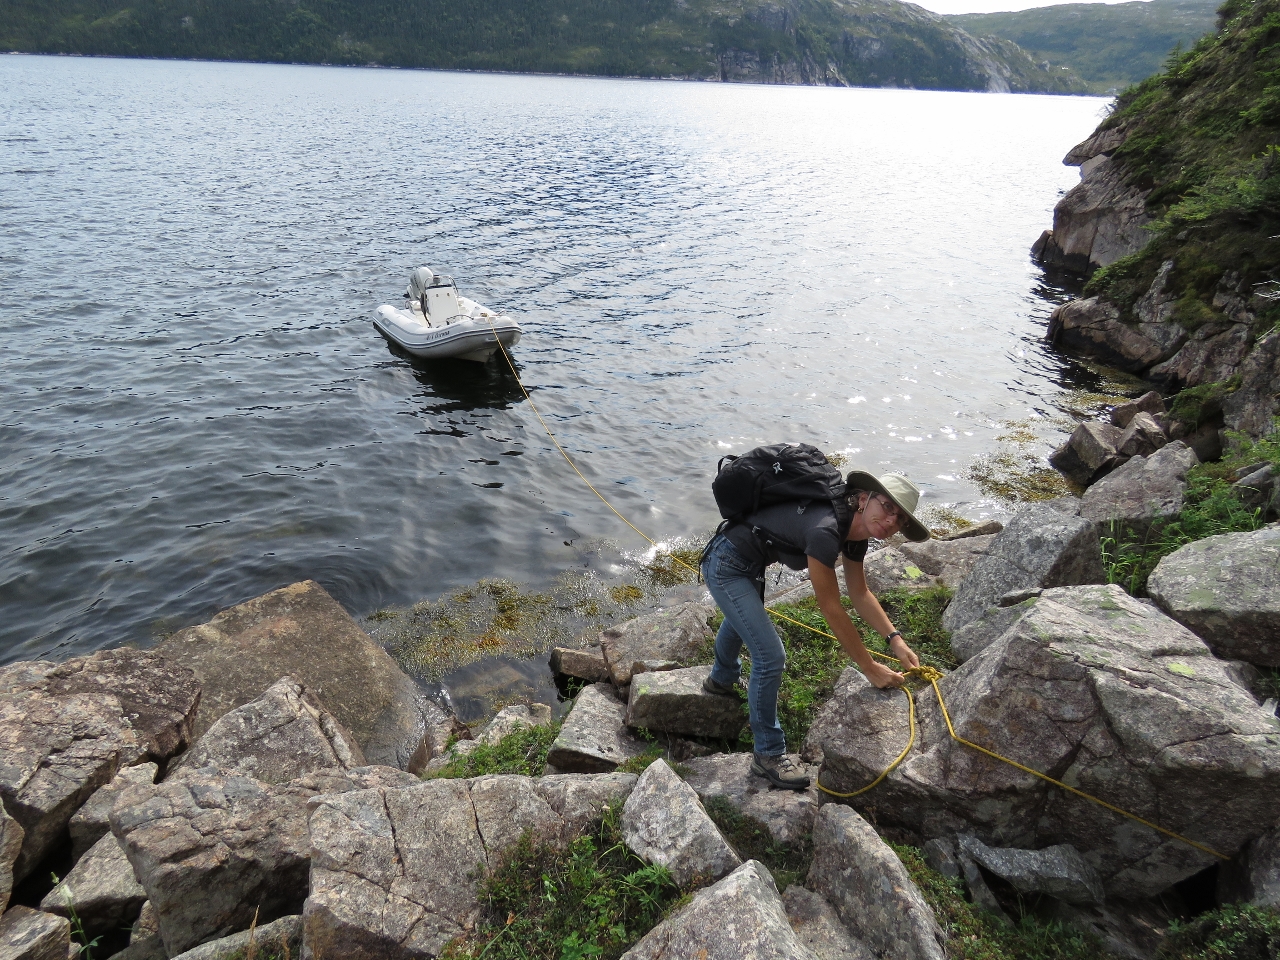 |
Ashore
Position: -56 19.90, 47 45.30
We secured the tender to a boulder, as no trees were close enough to the shoreline to tie off to, then set off up through the scrub.
|
|
|
Climbing Ropes
Position: -56 19.96, 47 45.29
A short distance up, we found a set of climbing ropes that took us up through the steepest sections. The climb still was challenging and tiring, but a lot easier than it would have been without the ropes.
|
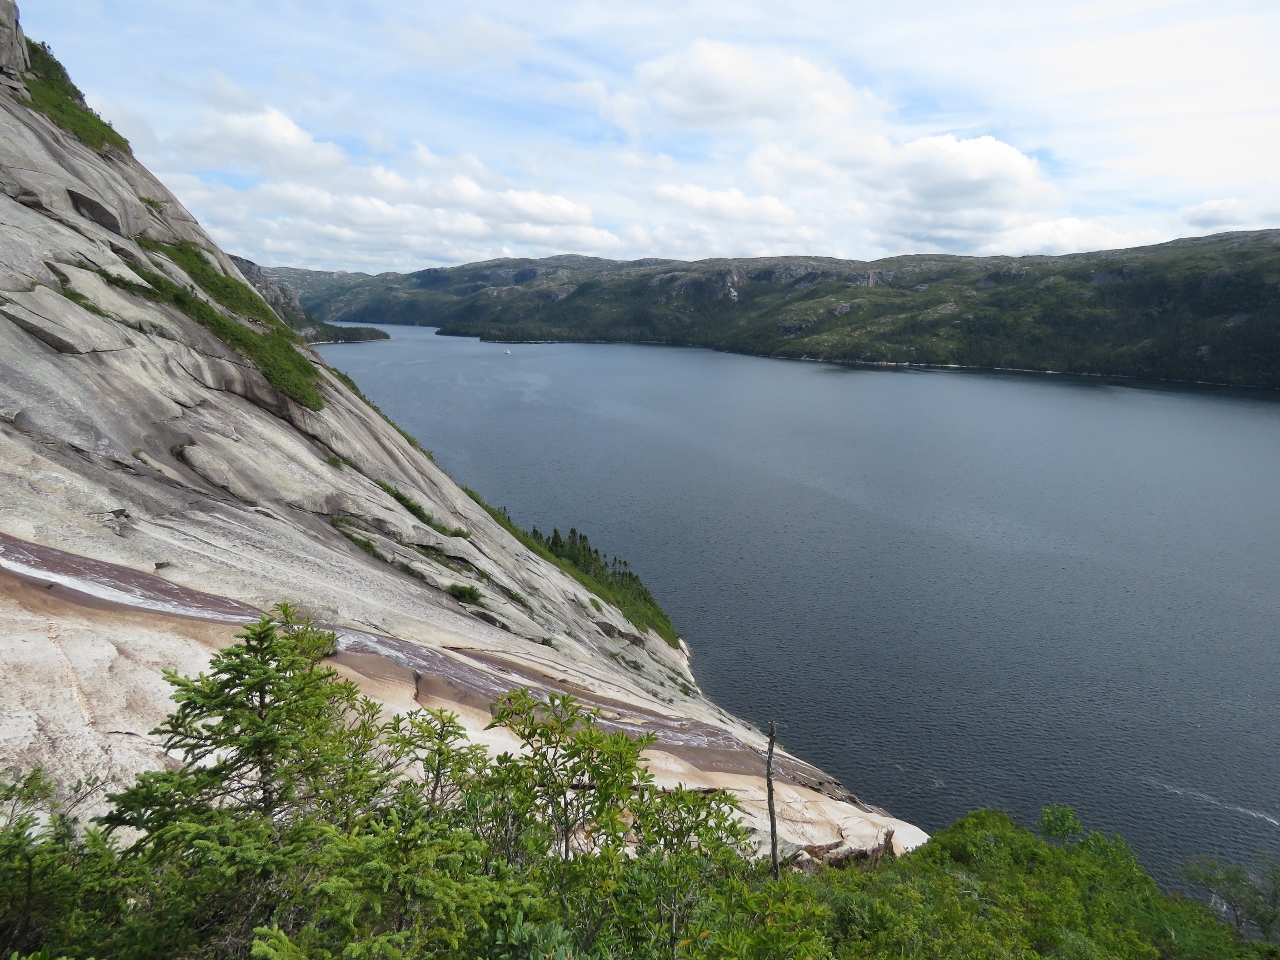 |
Partway
Position: -56 19.97, 47 45.29
The view about 200ft up looking north across the falls to the anchorage. We were only about 10 minutes from the dinghy—we’d really gained altitude quickly. Dirona is barely visible as a white speck in the distance.
|
 |
Summit
Position: -56 20.02, 47 45.38
The fabulous view from the summit looking to the head of Facheux Bay on the left and down the waterway on the right.
|
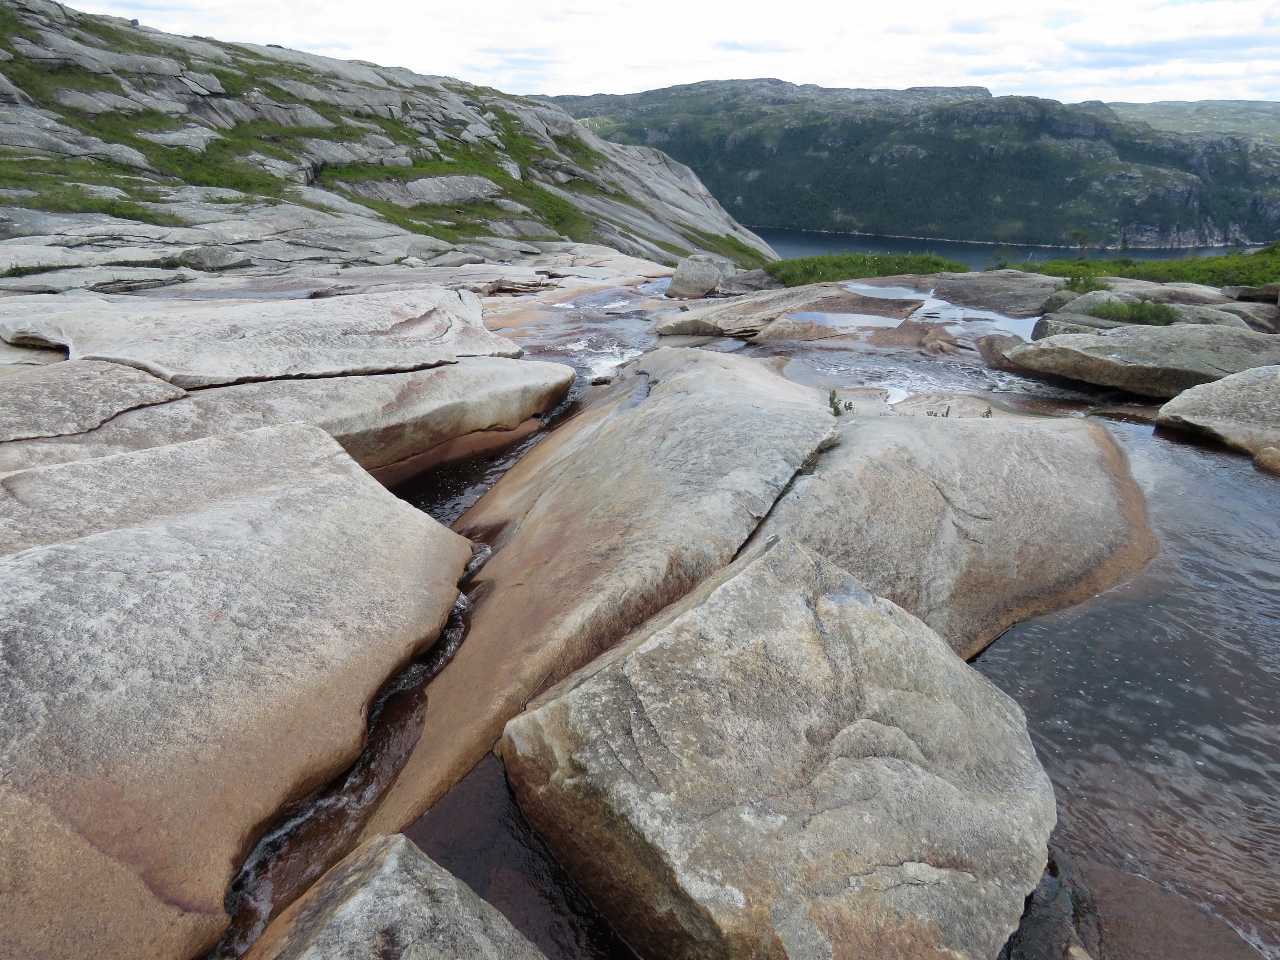 |
River
Position: -56 20.21, 47 45.34
A long and winding river fed the falls with easy walking over smooth rocks and relatively flat terrain.
|
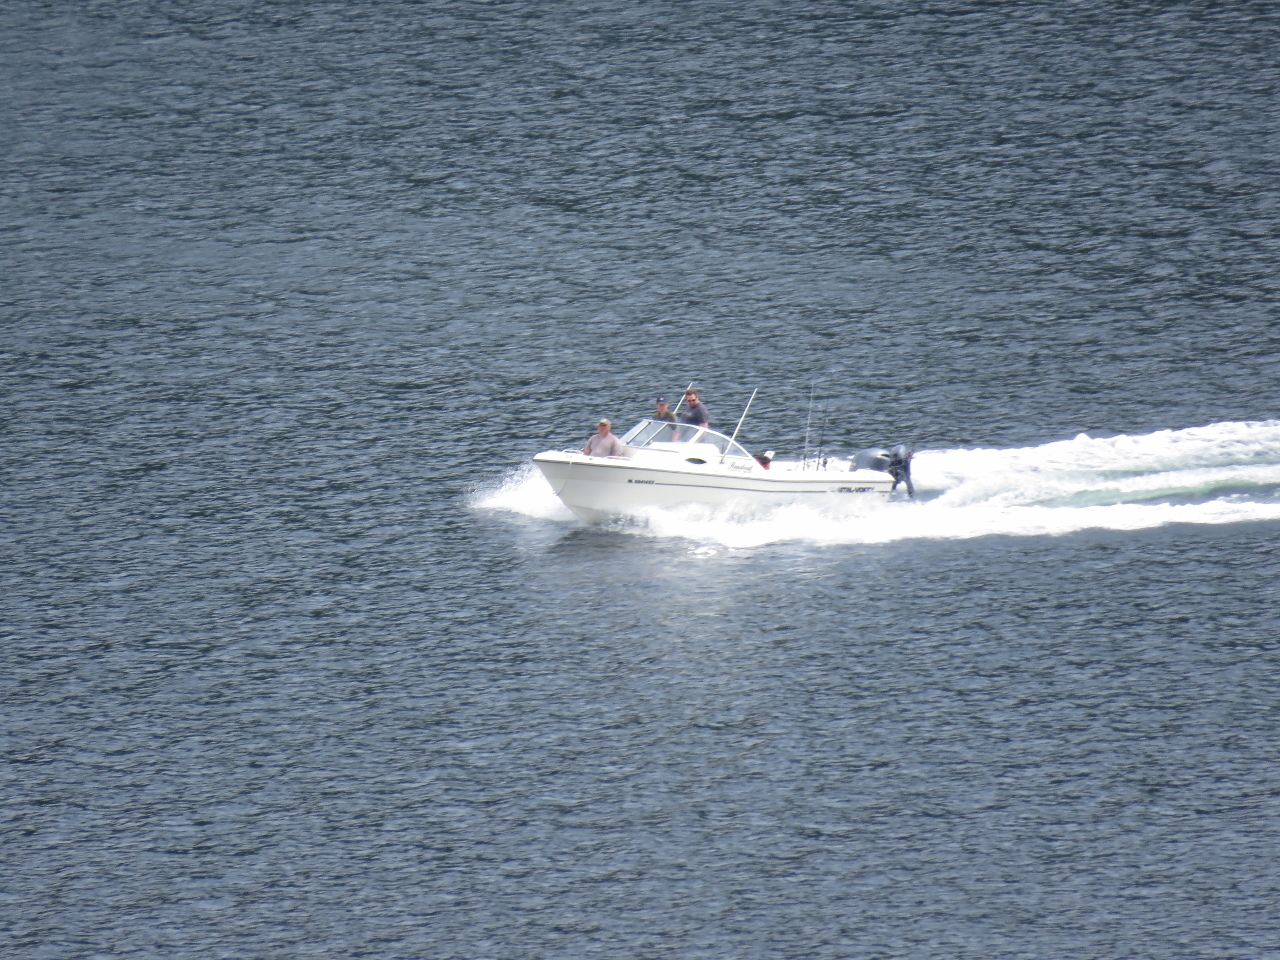 |
Speedboat
Position: -56 20.02, 47 45.28
While we anchored at the head of North Bay, some locals from Ramea, about 50 miles to the west, had stopped by to chat. They were just doing some sightseeing and heading for St. Albans at the northeast corner of Bay d’Epoir. This is the same group below us in Facheux Bay, presumably on the return trip back to Ramea.
|
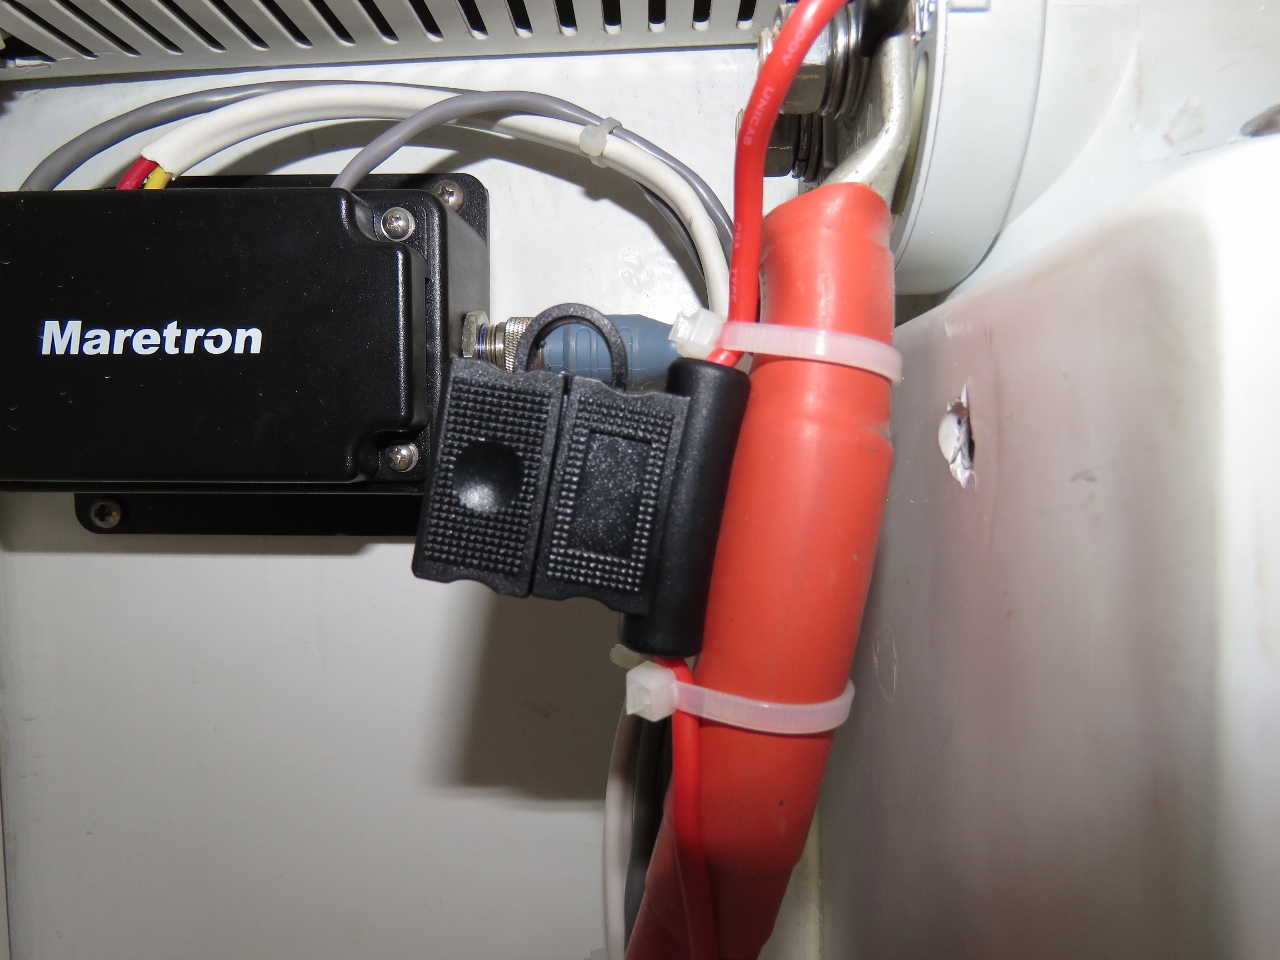 |
Sense Wire
Position: -56 19.45, 47 45.86
The alternator regulator sense wire is attached directly to the alternator output in most installations including both the house and start alternators on Dirona. A better solution is to sense charge voltage at the battery being charged since there will be some voltage loss in the wries between the alternator and the battery and the regulator will be incorrect by the voltage drop on that link. The easy answer is to just setup the regulator to account for the expected voltage drop. This sounds good but doesn’t work well since the voltage drop at full charging is higher than the voltage drop at low charge rates. The best solution is to just run a sense wire to the start battery or as close as practical. Years ago we ran a sense wire back to the DC panel for the house alternator but, until now, we hadn’t run a sense wire back for the start alternator regulations. Here we’ve attached the start alternator voltage regulator sense wire with it’s own fuse at the DC panel which is inches from the battery emergency disconnect switch.
|
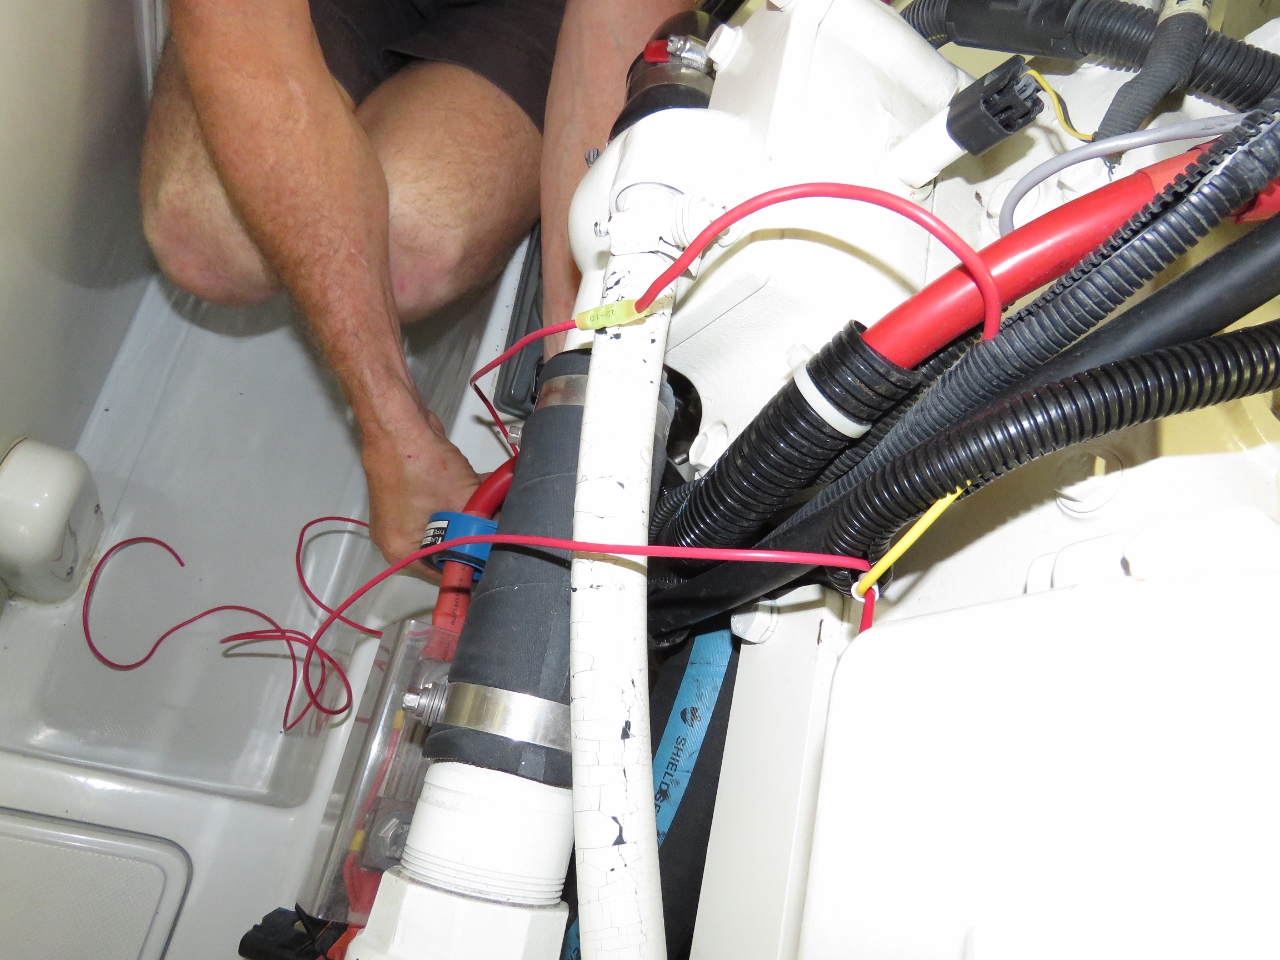 |
Wire Run
Position: -56 19.45, 47 45.86
The only hard part of installing the start alternator voltage regulator sense work back at the DC Panel is running the wire from the regulator in front of the engine all the way to the back of the engine room, into the laz, under the floor in the laz to the DC Panel, and then up into the DC panel.
|
 |
Morning
Position: -56 19.22, 47 43.43
Morning calm at the head of Facheux Bay.
|

|
Click the travel log icon on the left to see these locations on a map, with the complete log of our cruise.
On the map page, clicking on a camera or text icon will display a picture and/or log entry for that location, and clicking on the smaller icons along the route will display latitude, longitude and other navigation data for that location. And a live map of our current route and most recent log entries always is available at http://mvdirona.com/maps. |
Hi James:
Congrats on cruising from Canada’s west to east coast going the long way!
A question regarding the new sense wire run to the start battery bank located in the lazerette. Without the alternators in parallel, the start alternator has very little load, and it’s regulator now reads the voltage from the sense wire on or near the battery terminal in the laz. In high power usage mode, when the alternators are in parallel, the start bank is essentially in parallel with the house bank. So the sense voltage at the start battery bank drops due to the high load. With this new sense wire at the start battery bank, instead of on the alternator output terminal, it will have a lower voltage reading than before. Does this mean the Start Alternator will now share more of the house charging load?
Thanks for all your great ideas and insights, especially on Dirona’s electrics.
Good question Alex. The way Dirona is wired is the two alternators, one for start and one for the house, both have long heavy guage wiring running back to the laz DC Panel battery switches. Both the house and start battery banks are in the laz and each connect to the DC panel emergency disconnect and paralleling switches via short connections.
Ideally, the alternator sense wire runs all the way back to their respective battery banks but I prefer to have them connect on the switched side of the emergency disconnect switches (they need low amperage fuses right at the connection either way). Because the vast majority of the voltage loss is long run between the alternator and the DC panel, running the sense wire to the other side of that run solves the problem and give the alternator the the voltage the batteries are seeing.
In non-paralleled mode, each alternator is reading the voltage at the DC panel within a couple of feet of the battery bank they are charging. In paralleled mode, the connection is made at the DC panel whether automatic via contactor or manual via a large manual transfer switch. In either mode, both alternators are sensing right at the DC panel within a couple of feet of the battery being charged.
Thanks James. I had thought the contactor was located on or near the two engine alternators instead of the DC panel.
The contactor is mounted just above the DC panel which allows for nice short wire runs and has great air flow to keep it cool since I’m passing up to 195A through it.
This is the third contactor I’ve used. The first was a Prestolite rated at 200A continuous with silver contactors and it lasted less than a month. Then I spent more money on a Trombetta Bear rated at 225A and it failed fairly quickly as well. The manufacturer didn’t seem surprsed that a load far less than the rating only lasted days and they recommended that I buy spares rather than offering a warranty part. I declined that “opportunity” and bought a Kilovac Lev200 which is rated at 500A. It’s been a tank and works super well. Ironically, it is less expensive than the Trombetta product that couldn’t handle less than 85% of it’s rated load.
Wow! Sounds like marketing (instead of the engineers) wrote the specs for the Prestolite and Trombetta contactors.
On the other hand, the Kilovac 500A spec shows an 85C operating temp in a hermetically sealed housing. Seems perfect for marine applications. The Kilovac product should be one you can now forget about.
The Prestolite I could forgive since it’s very good value and the load was close to the spec. I was super disappointed with the Trombetta product. It was relatively expensive and unable to hold only 85% of it’s rated load. The Kilovac Lev200 is inexpensive, sports a 500A rating, and has been very reliable. I really like the product and now have two in use.